Student Centered Class Asst Documentation
This is the App's main menu:
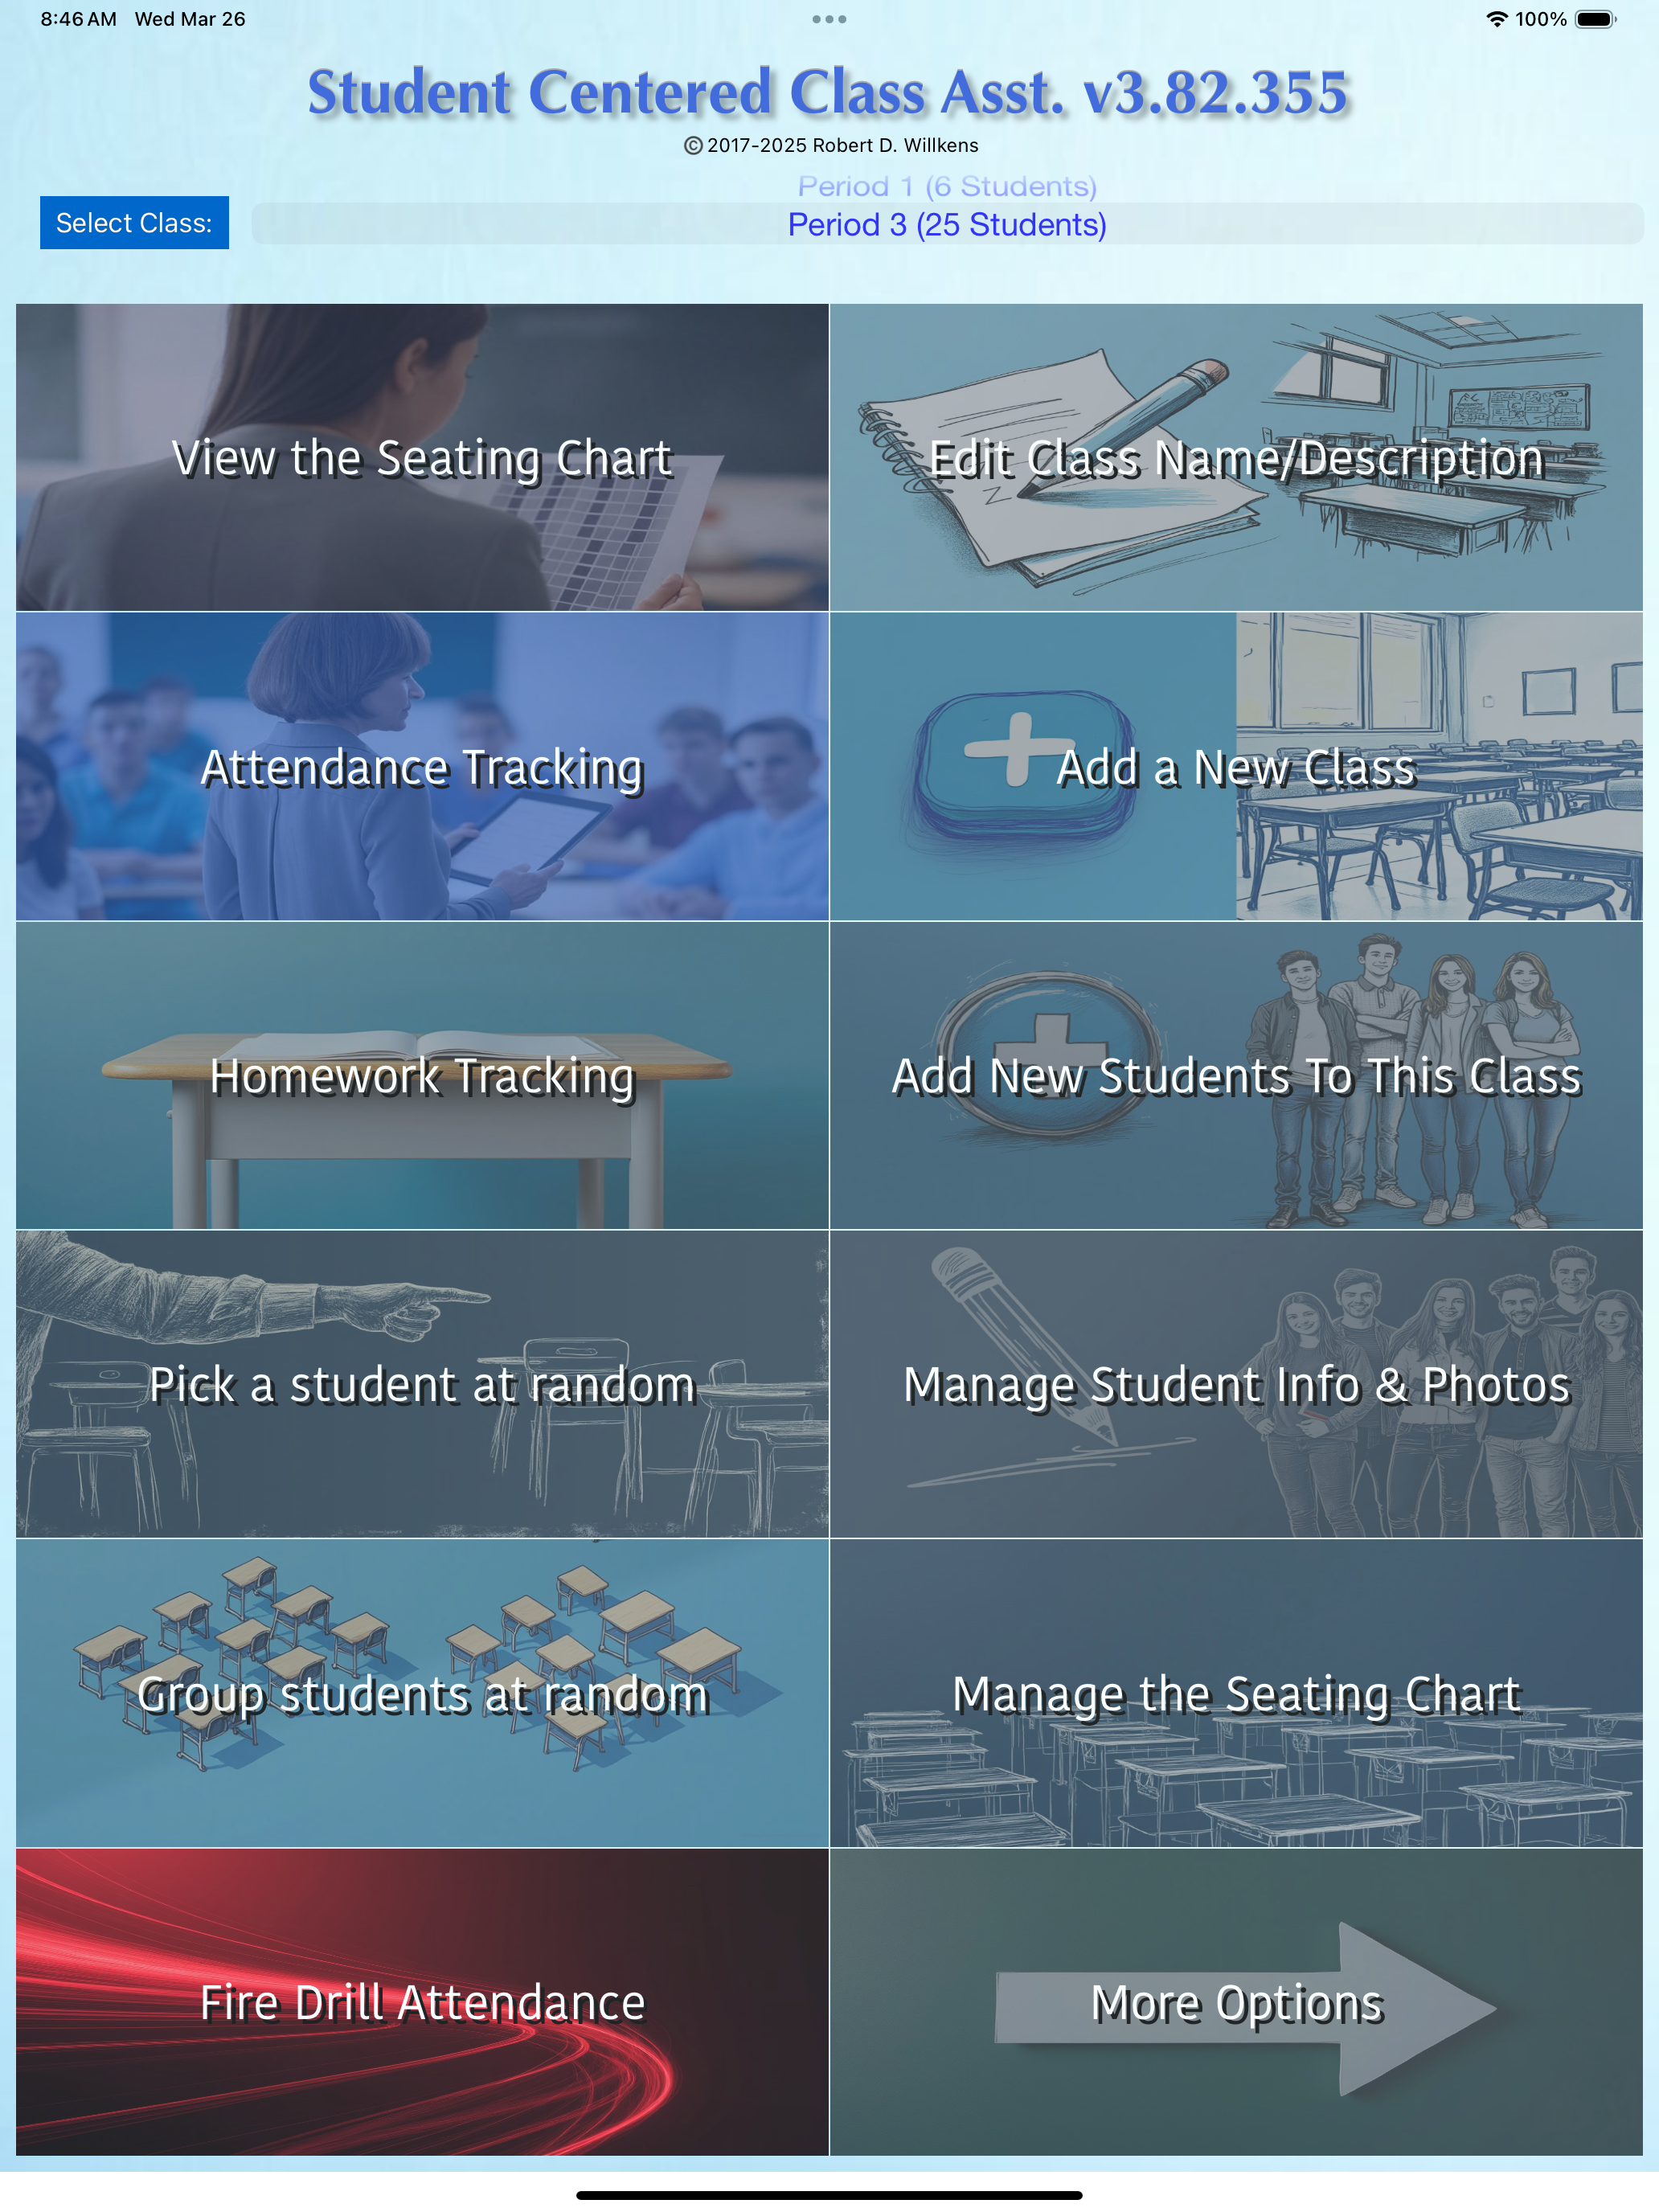
At the top of the app's main menu, there is an option to select the active class. This represents the current class being used within the app. Users can either press the "Select Class:" button to choose a class from a full-screen prompt, or slide through the class list on the right side.
Tapping "View Seating Chart" will display a non-interactive seating chart.
Attendance Tracking, Homework Tracking, and Fire Drill Attendance each feature an interactive seating chart where the status can be marked. Previous days' entries and multiple day summaries are also viewable.
"Add New Class" option lets you name a new class, which will have its own students and seating charts.
"Class Details" lets you rename the class or edit class (not students) details.
"Add Students To Class" allows you to enter student names one at a time or import from a "plain text (.txt)" or "Comma-Separated Value (.csv)" file. For CSV, include "First Name" and "Last Name" columns, and optionally "short name", "nick name", "middle name", "prefix", or "suffix". For text files, list one name per line in the format "firstname lastname" or "lastname, firstname".
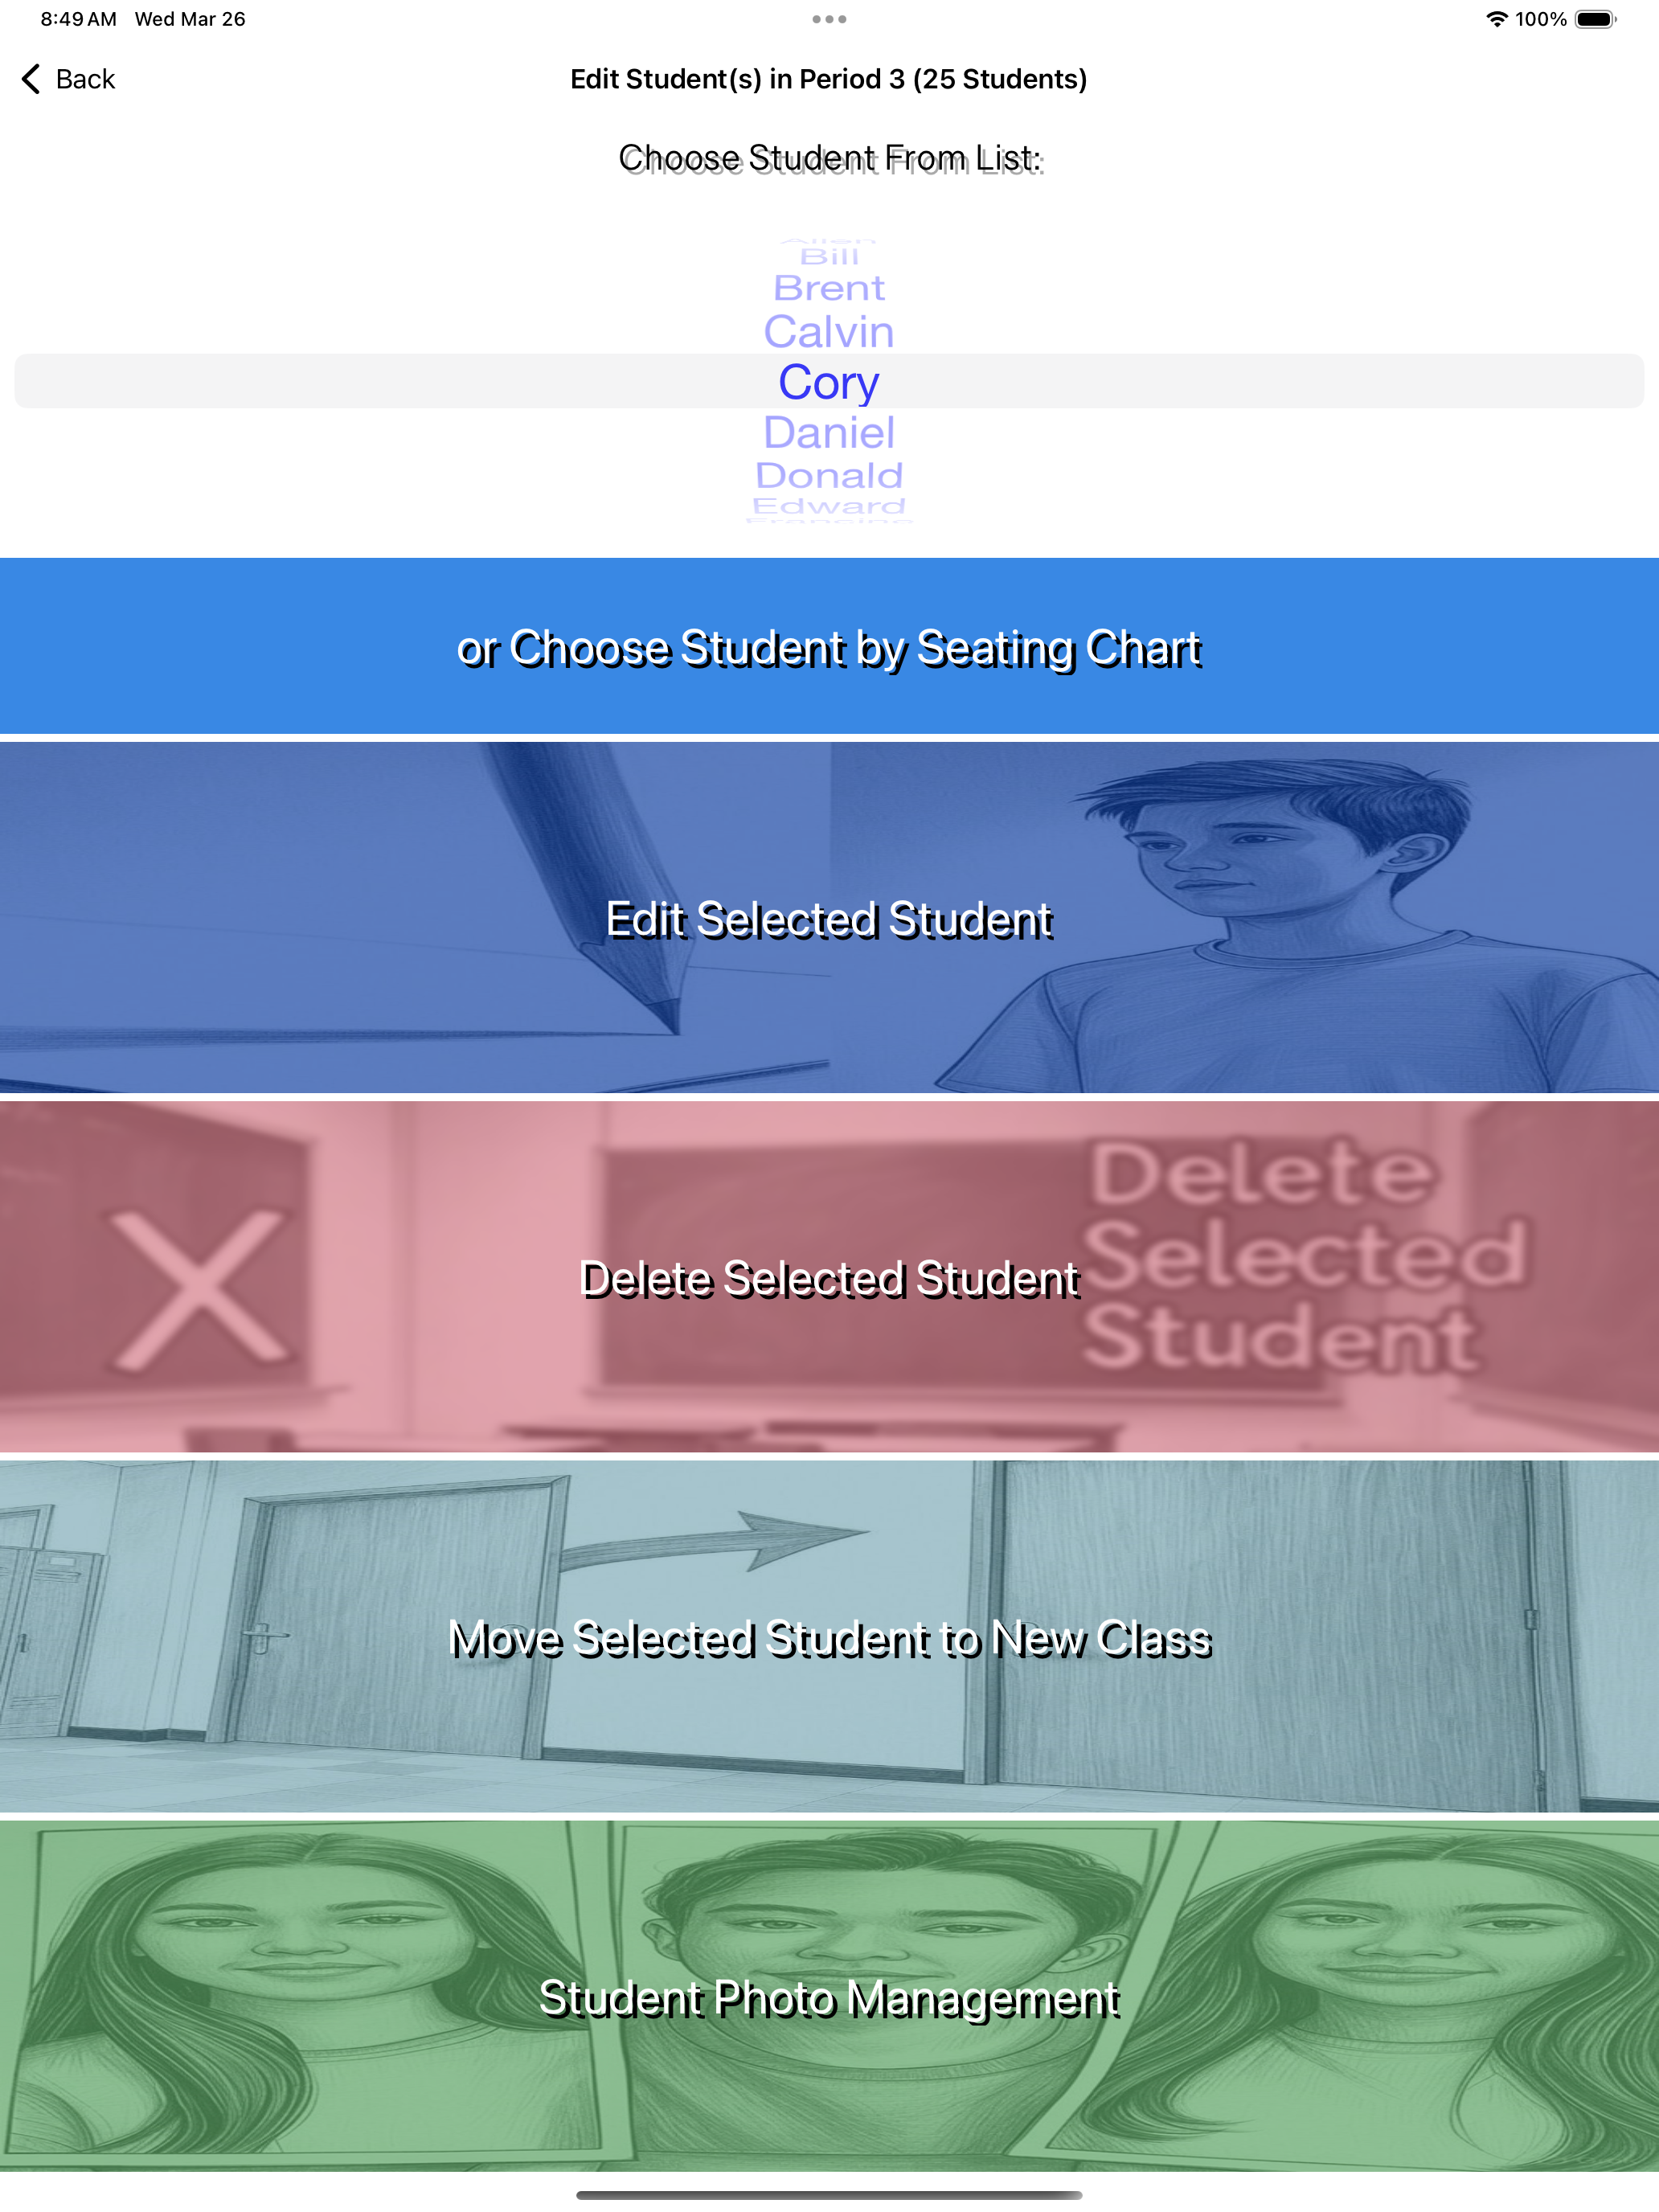
"Manage Student Info/Photos" enables you to modify a student's name (e.g., correct spelling), delete student records, or manage student photos (an optional feature).
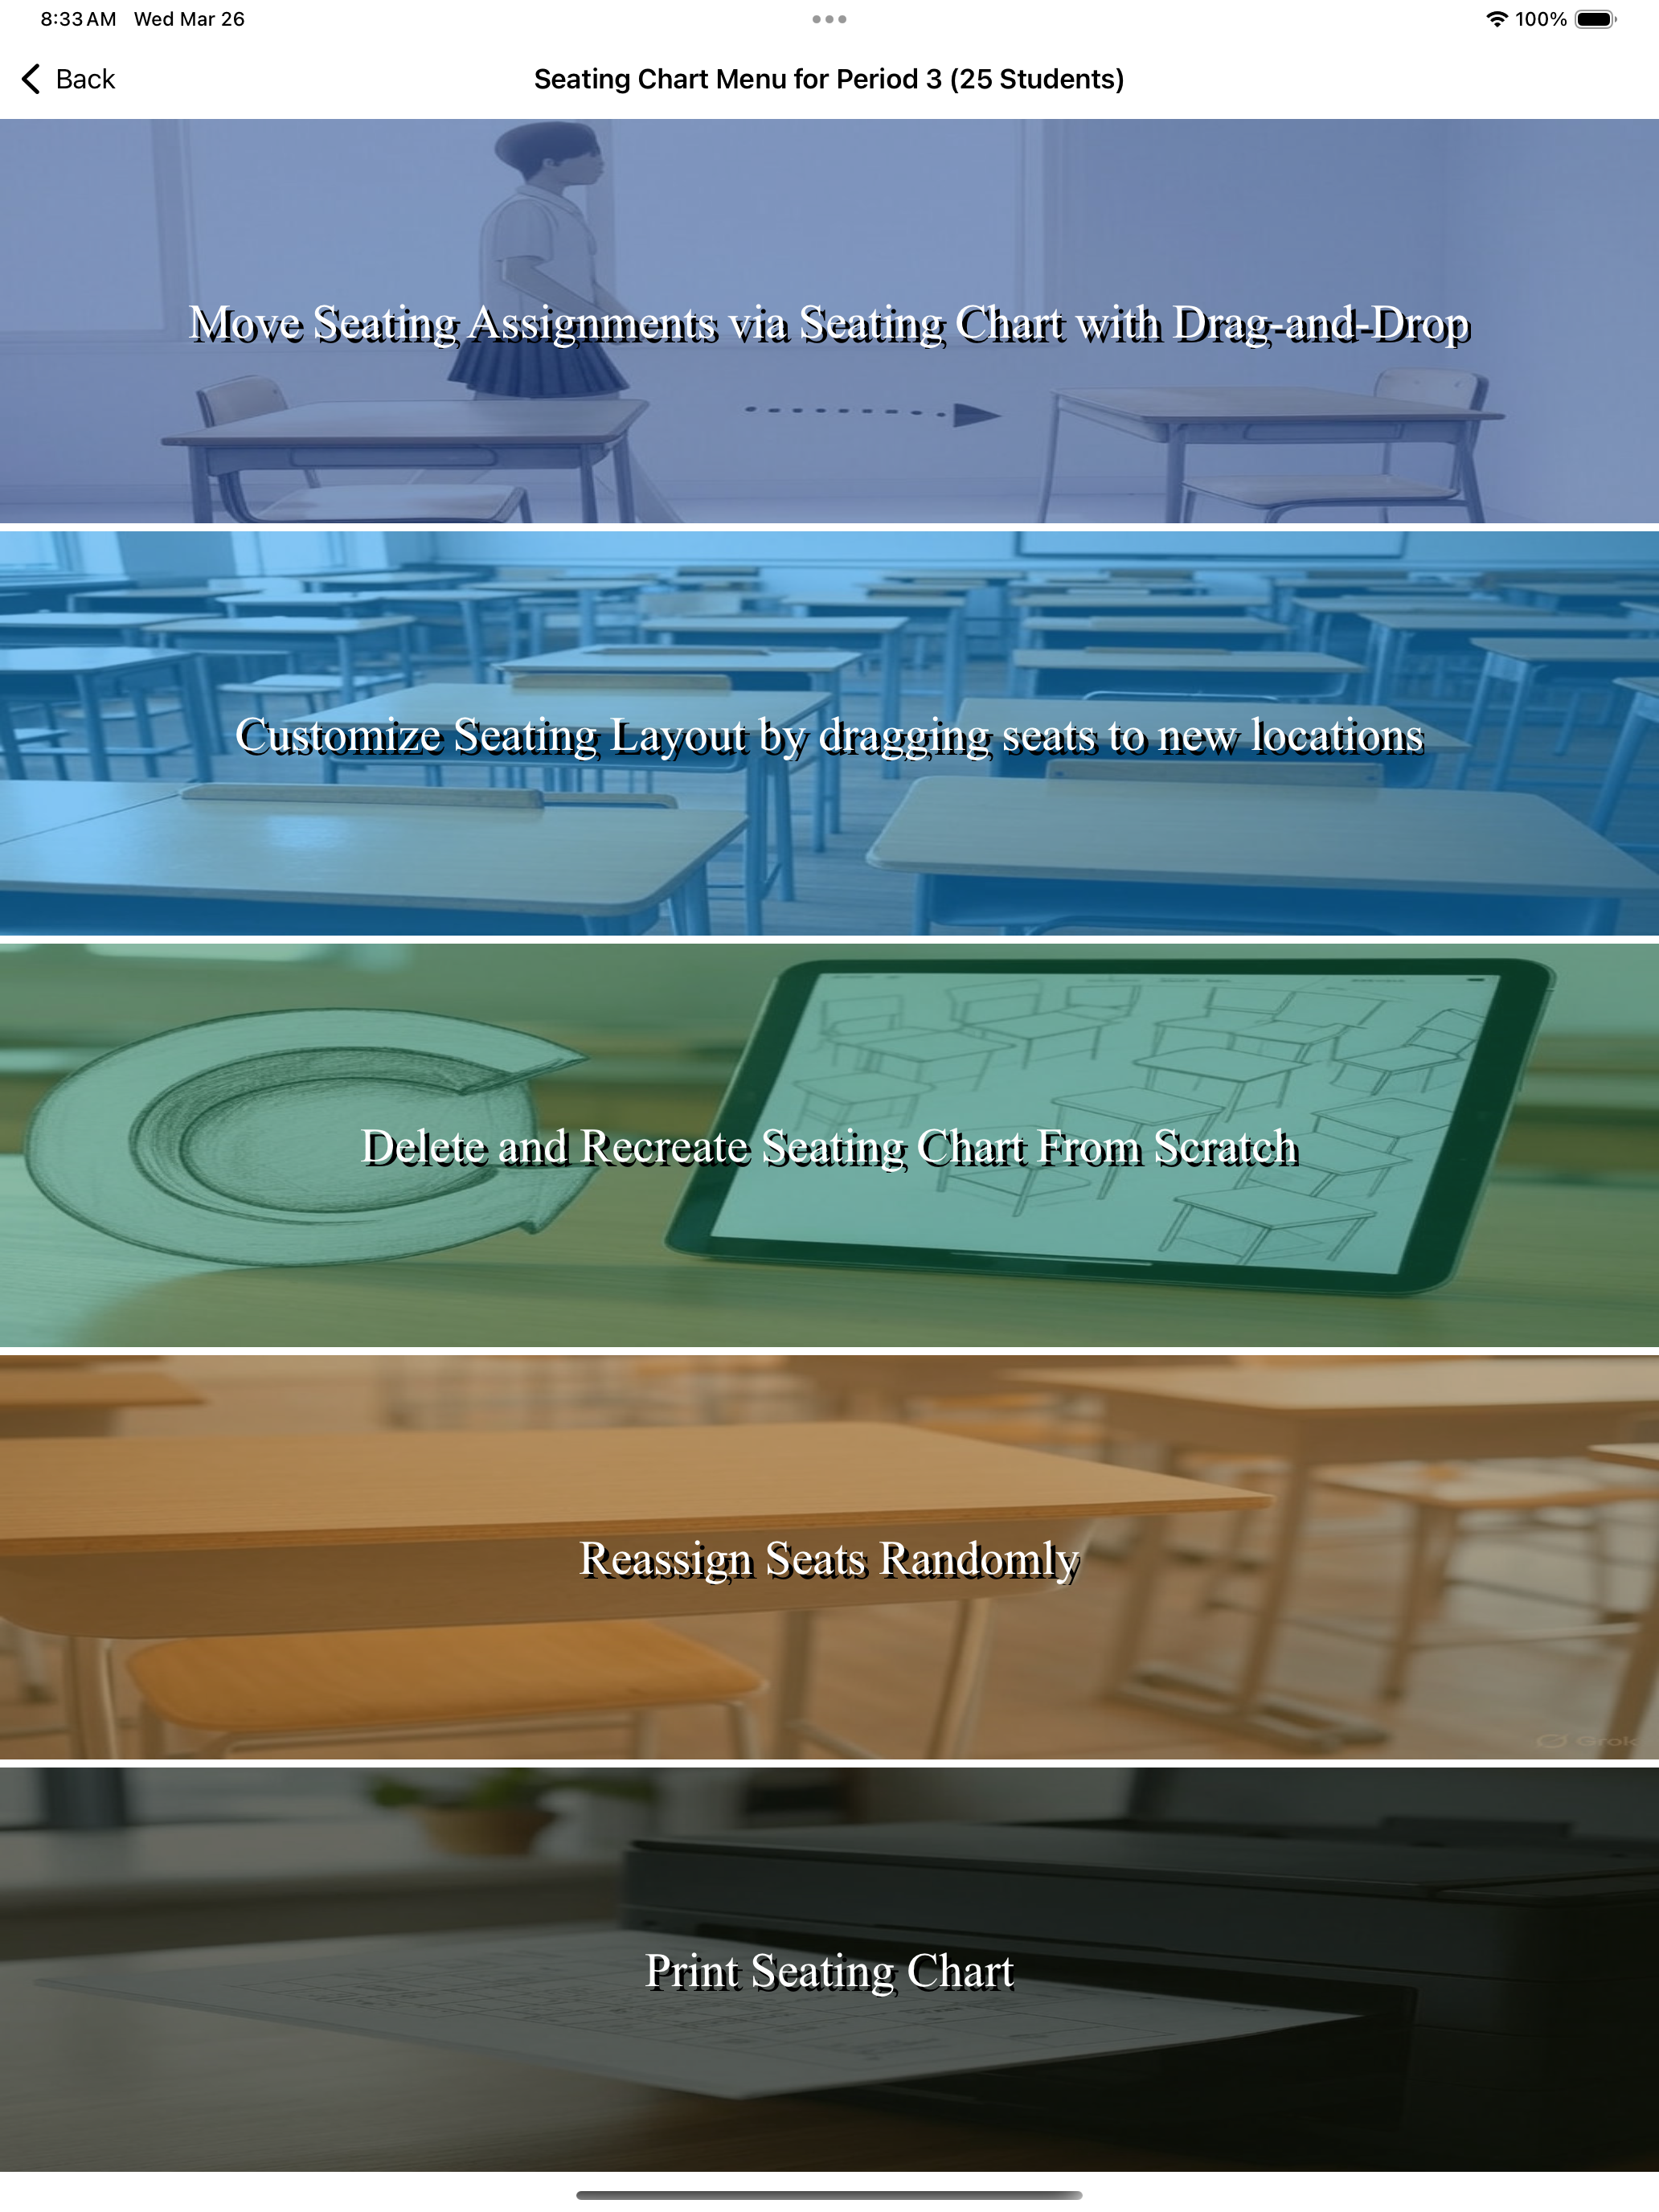
The "Manage Seating Chart" option allows you to assign seats, reassign them by dragging and dropping, or change the layout freely. Initially, you start with rows and columns but can reposition seats as needed. There's also a print seating chart option available.
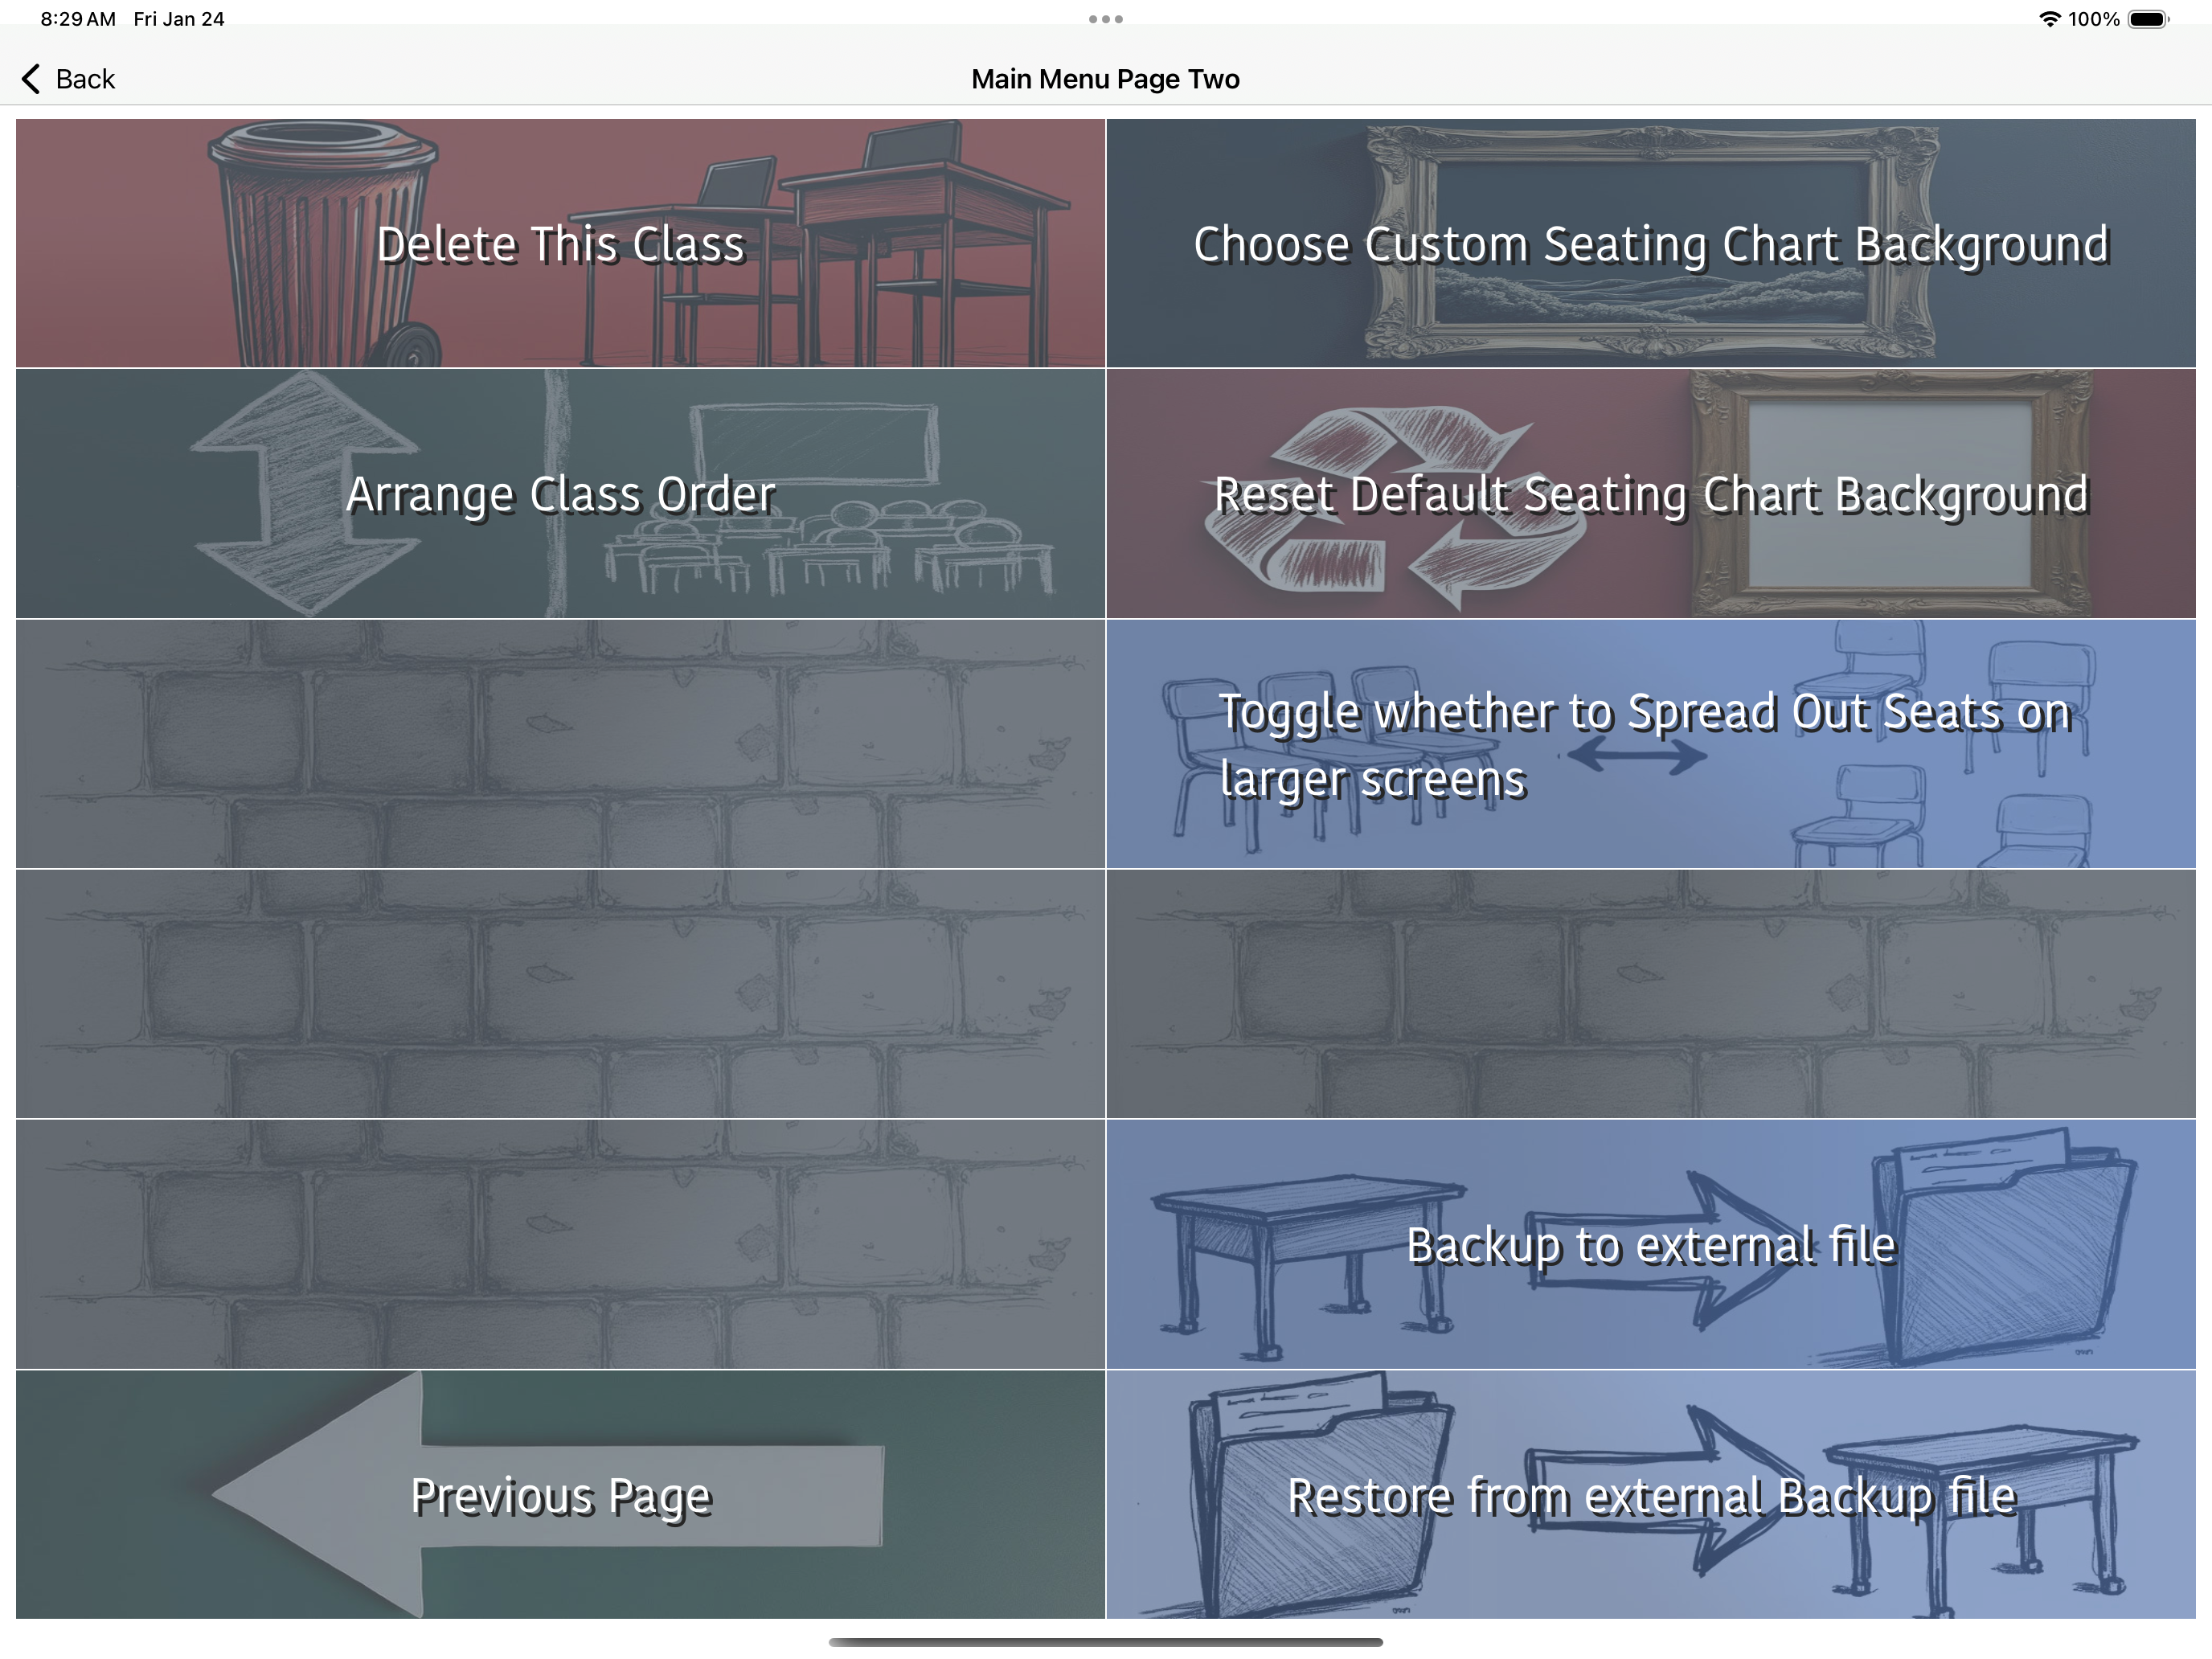
"Delete This Class" will remove the class along with all associated students and seating charts.
You can back up your data to a local file or save it to a cloud service, such as Google Drive, iCloud, OneDrive, or MyCloud. These services can be accessed by other applications for further backup or transfer. The restore option will replace existing data with the data from the backup file.
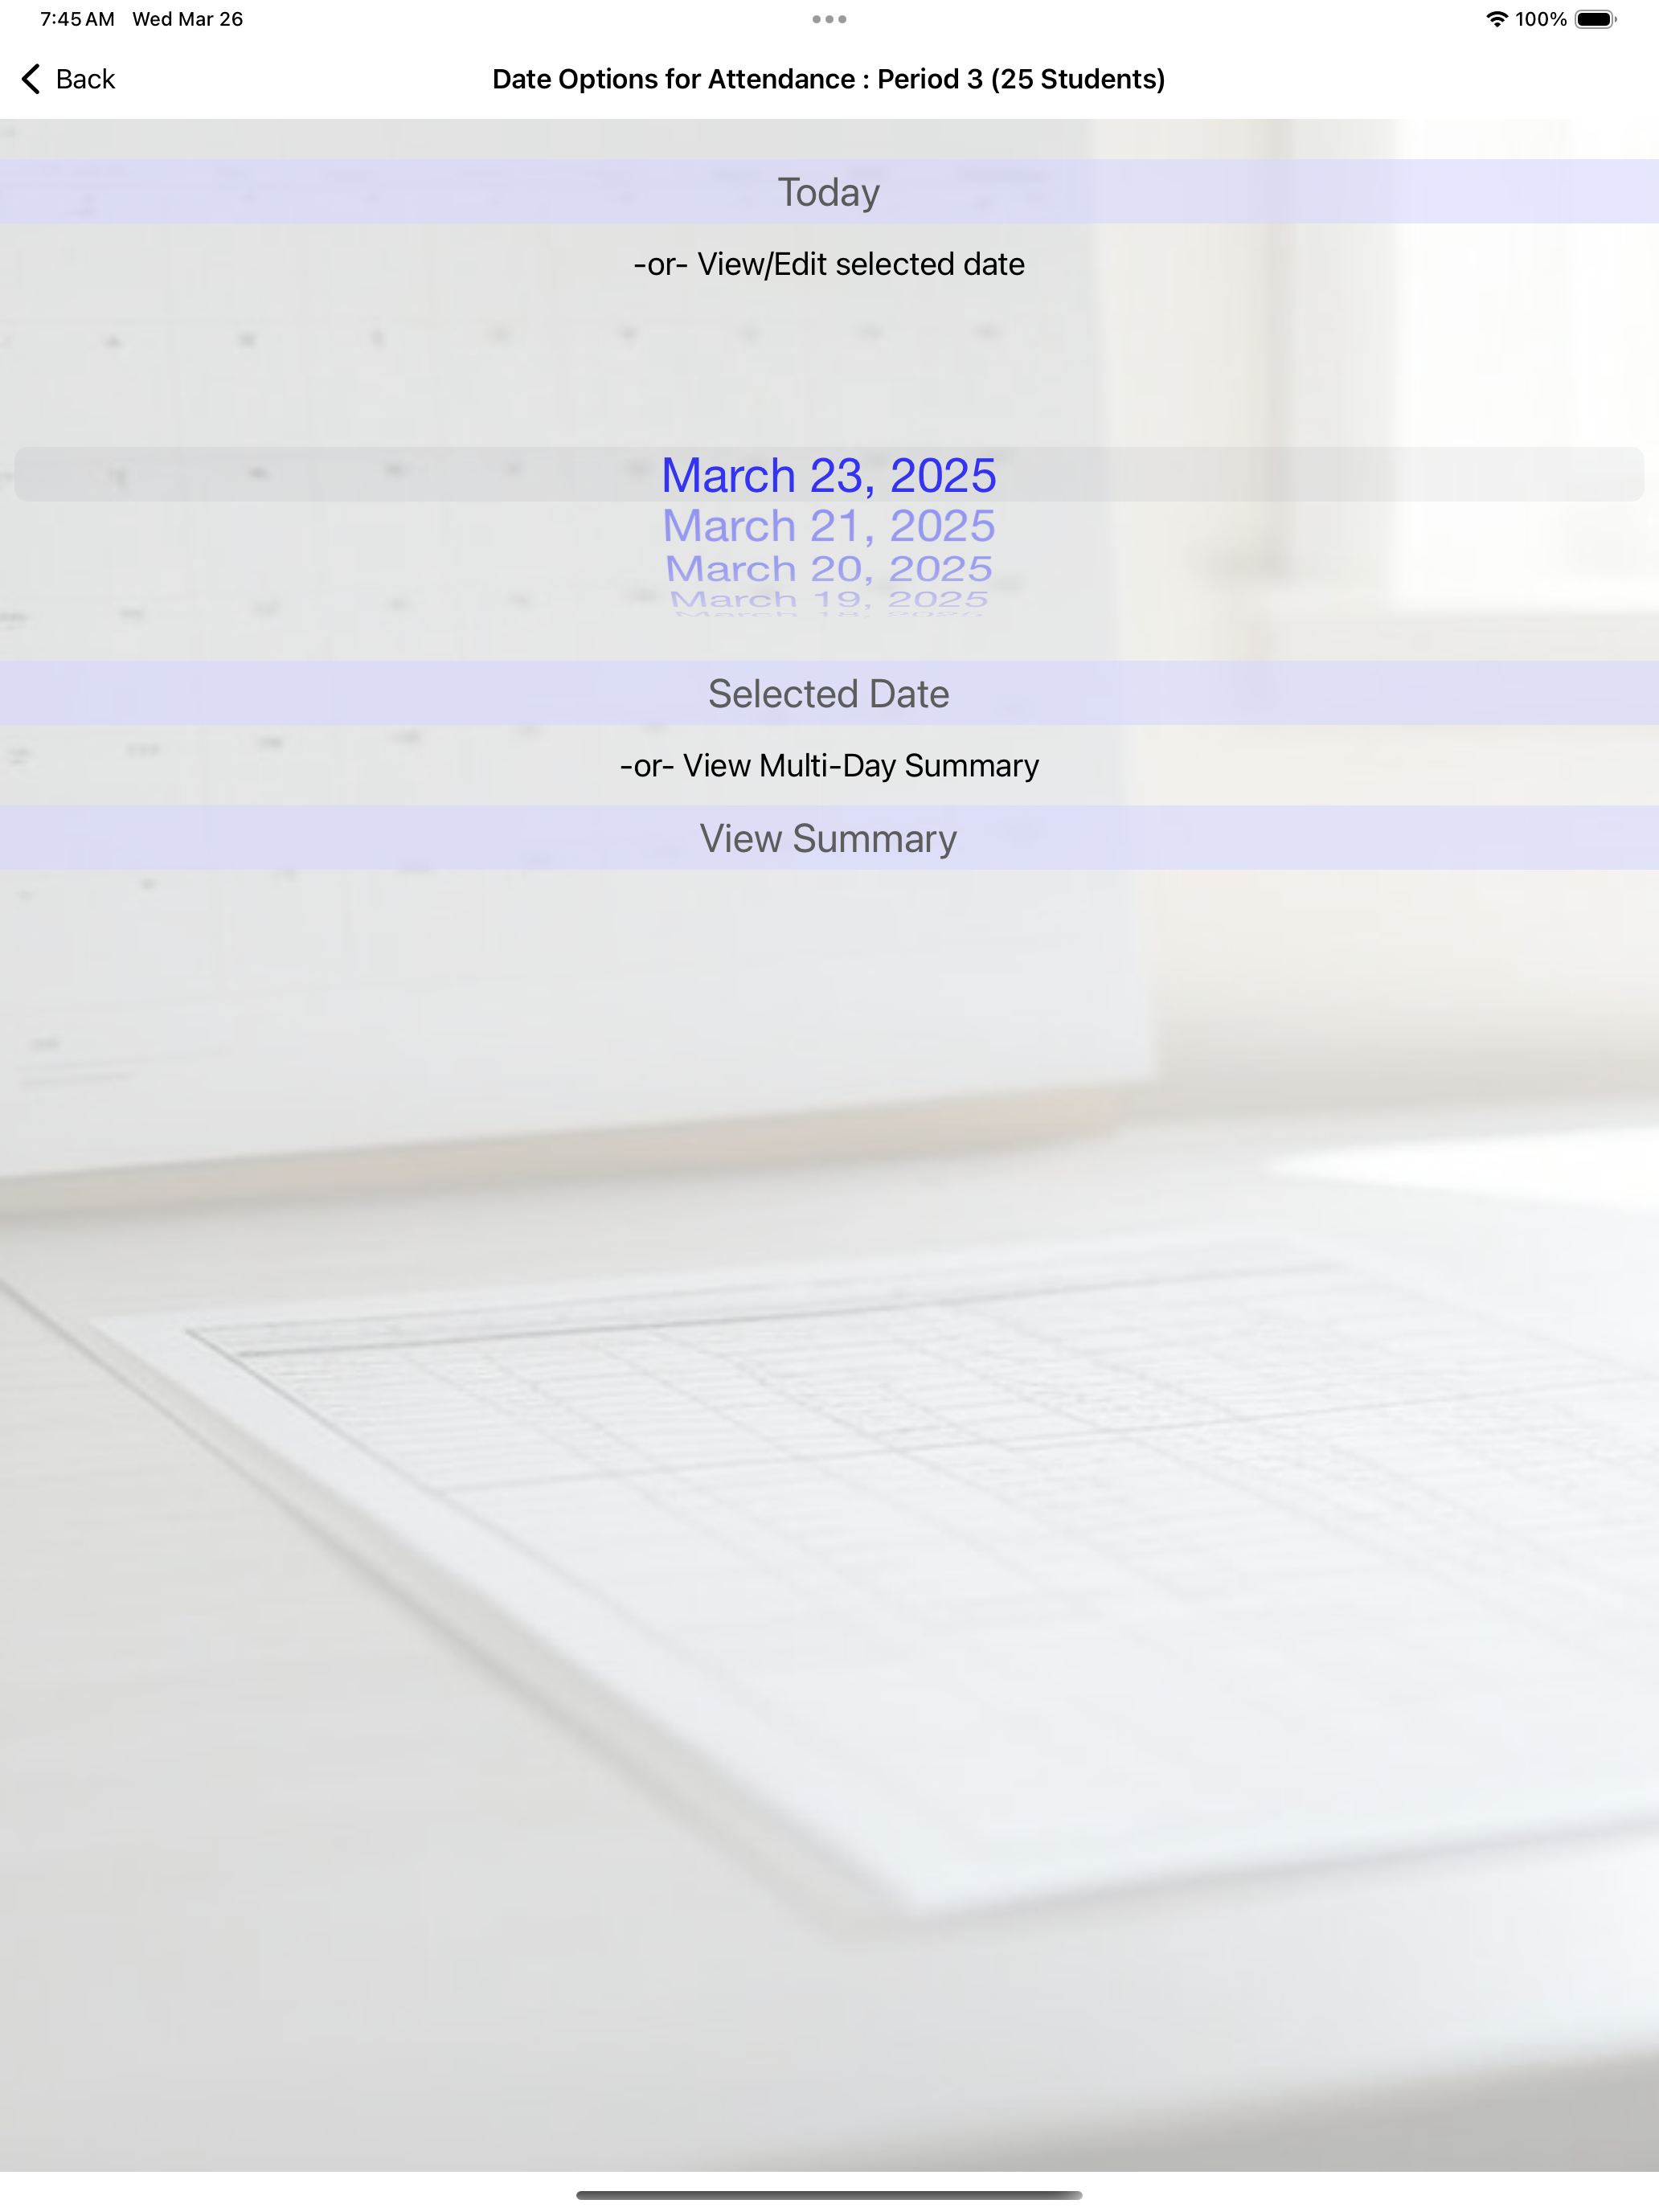
Before Taking attendance or tracking homework, you will be prompted with a screen where you select either (1) Today - you're tracking today's attendance/homework, (2) you can slide and select any day there is prior data for and hit the "Selected Date" button, or (3) you can view a multi day summary. For Fire Drill attendance, Multi-Day summary is not an option at this time as it didn't seem necessary. Here's that screen:
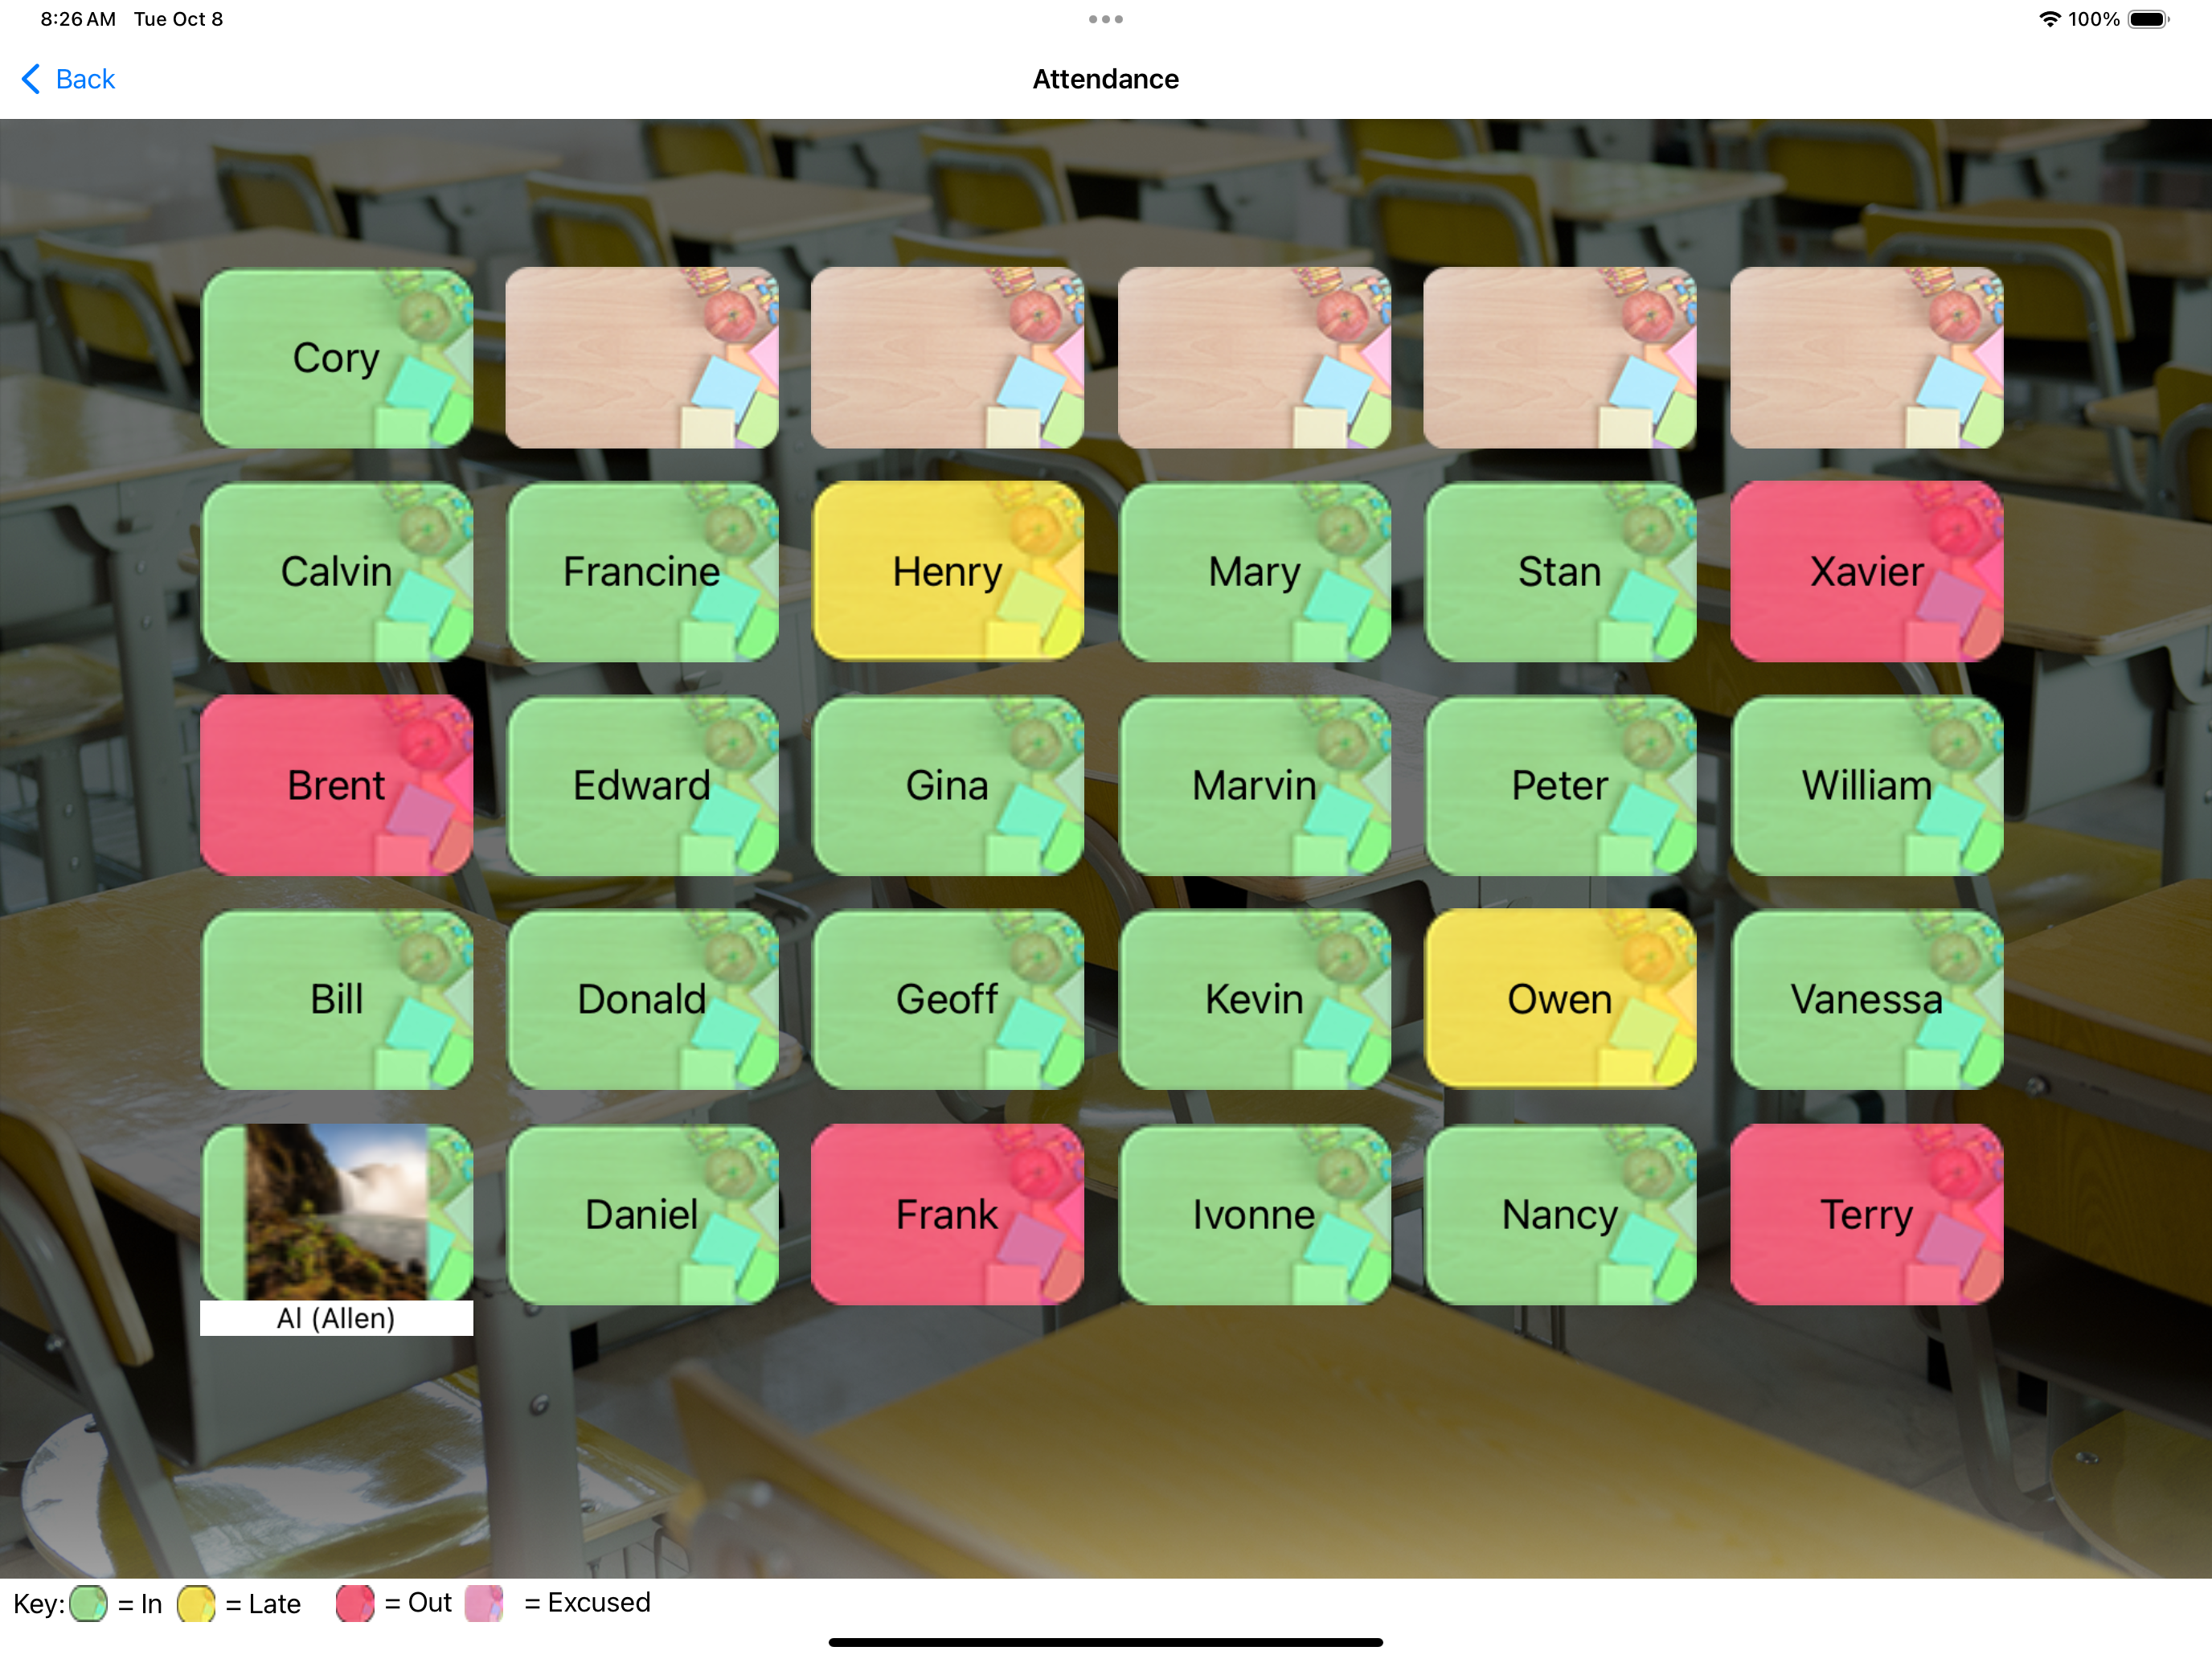
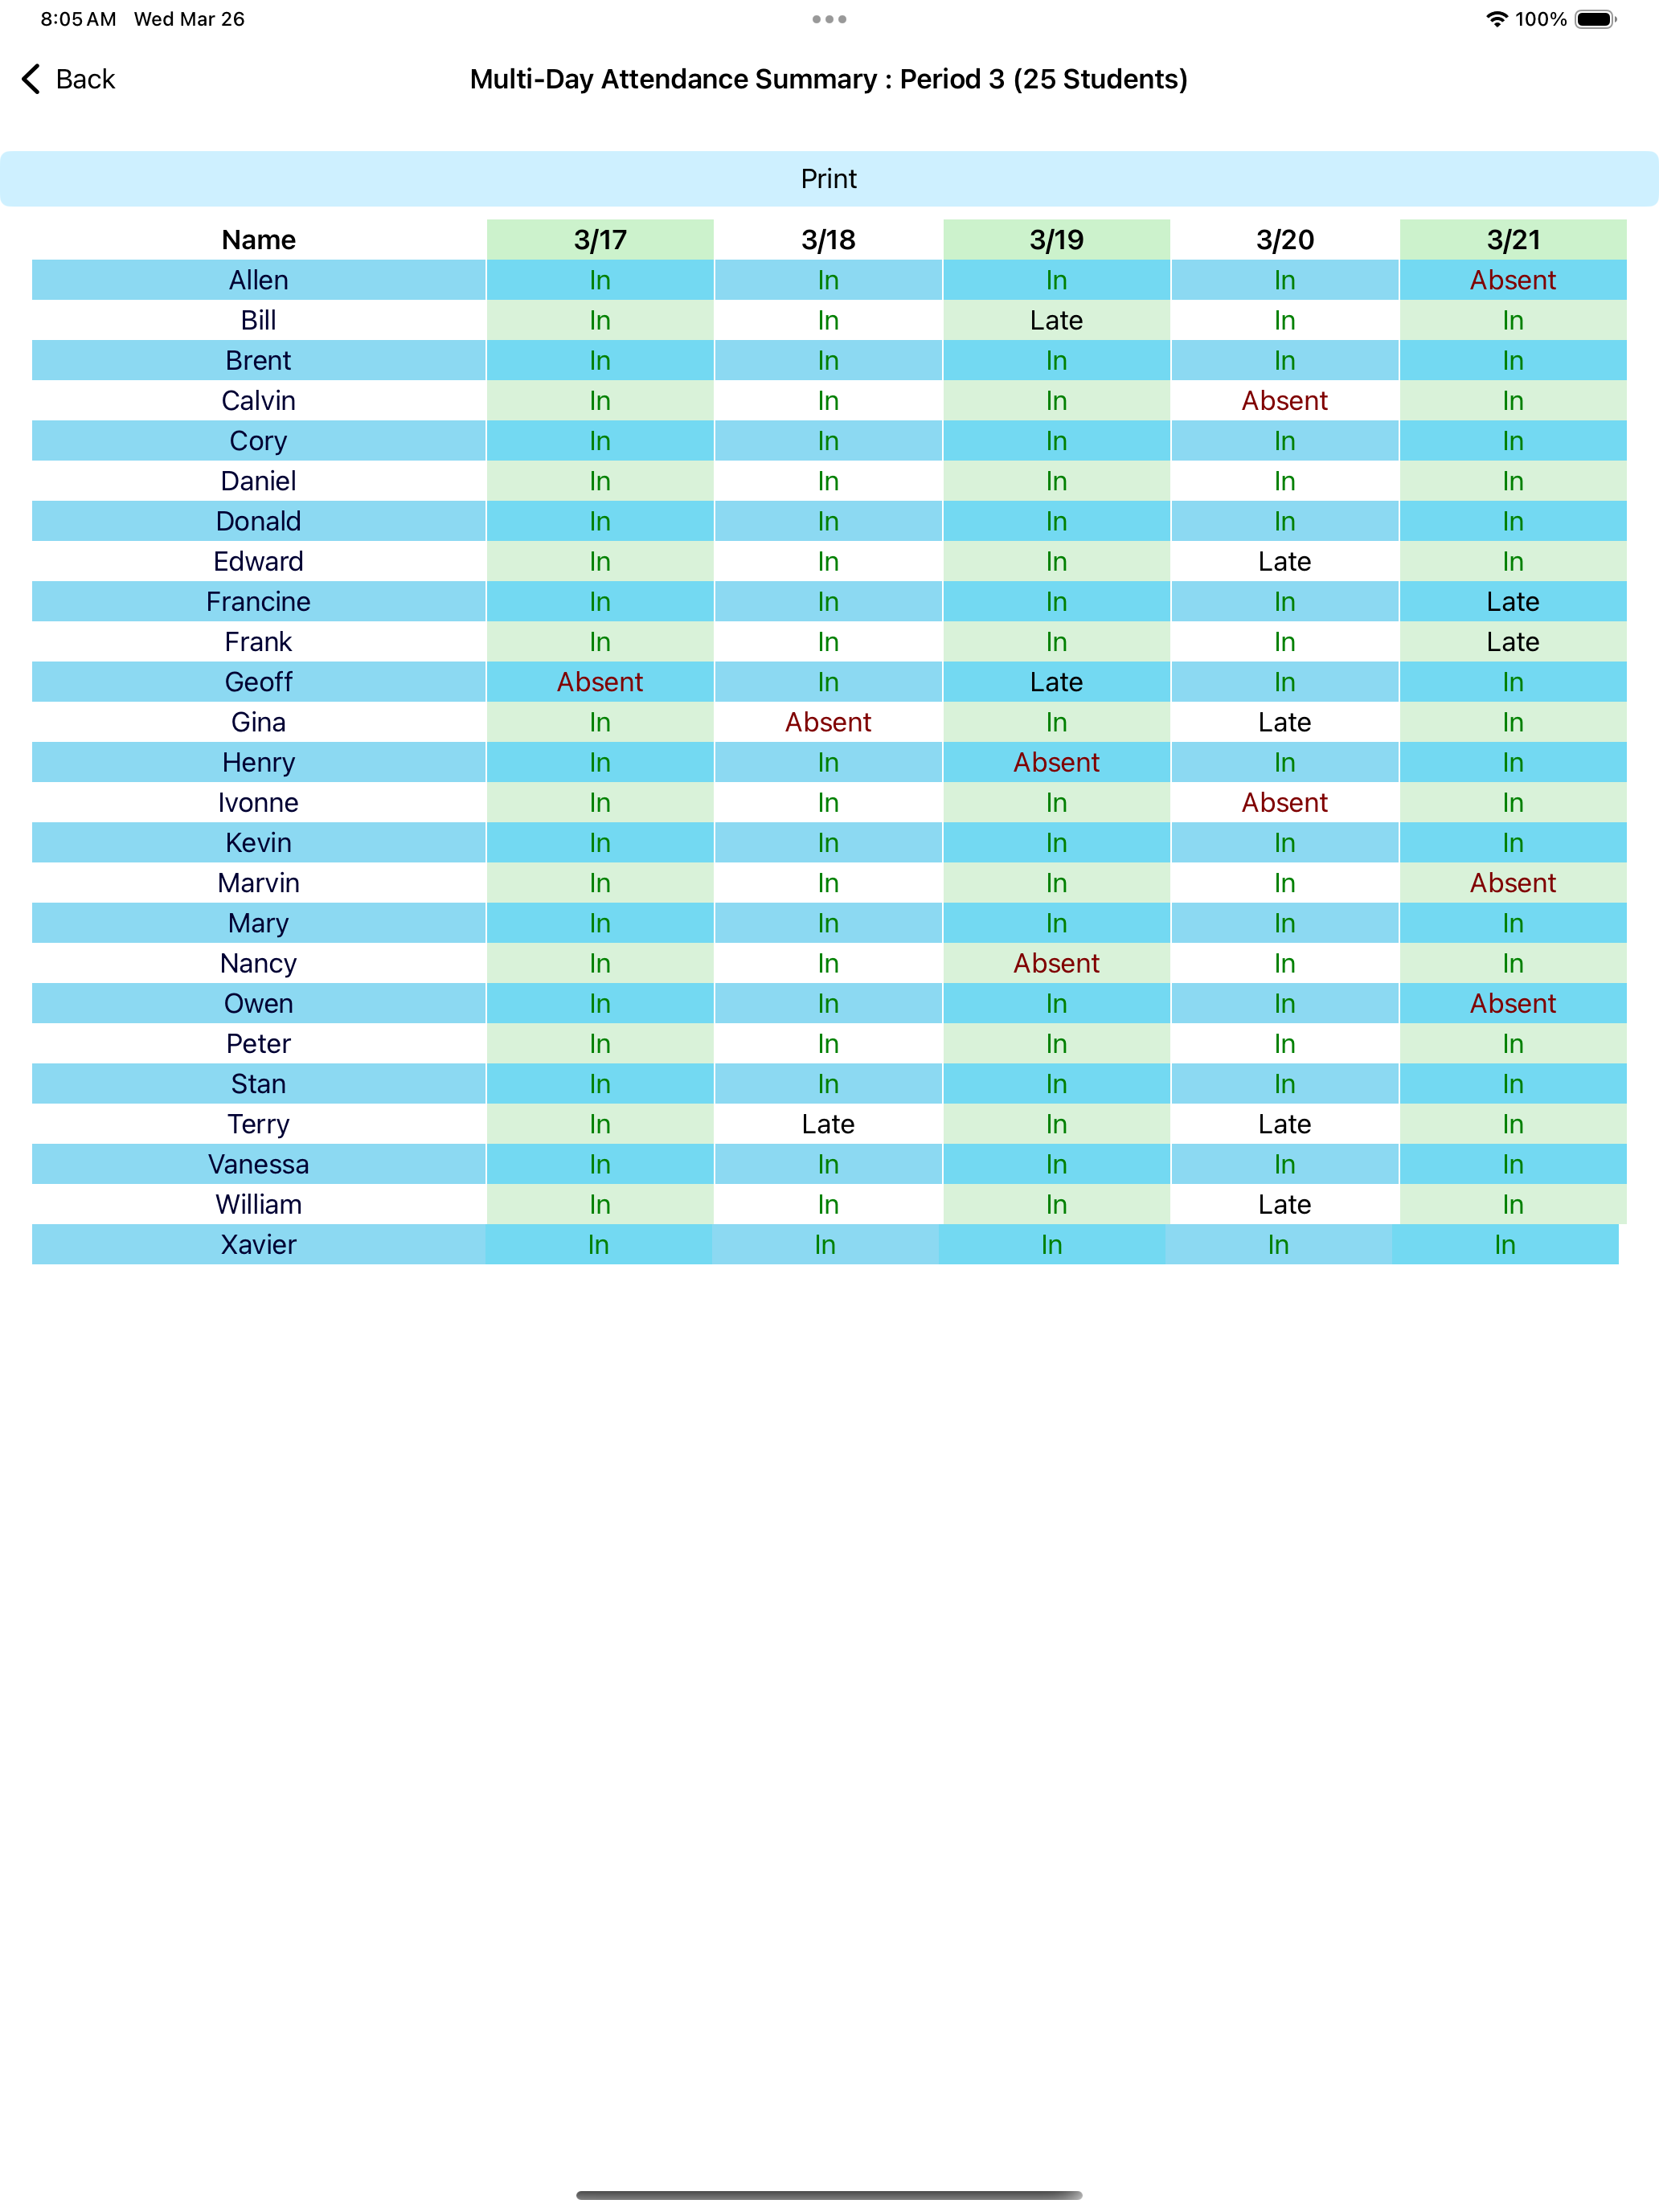
Interactive seating charts allow you to tap seats to change color codes. The key is at the bottom, with values used in the multiday summary. A non-interactive seating chart is also available.
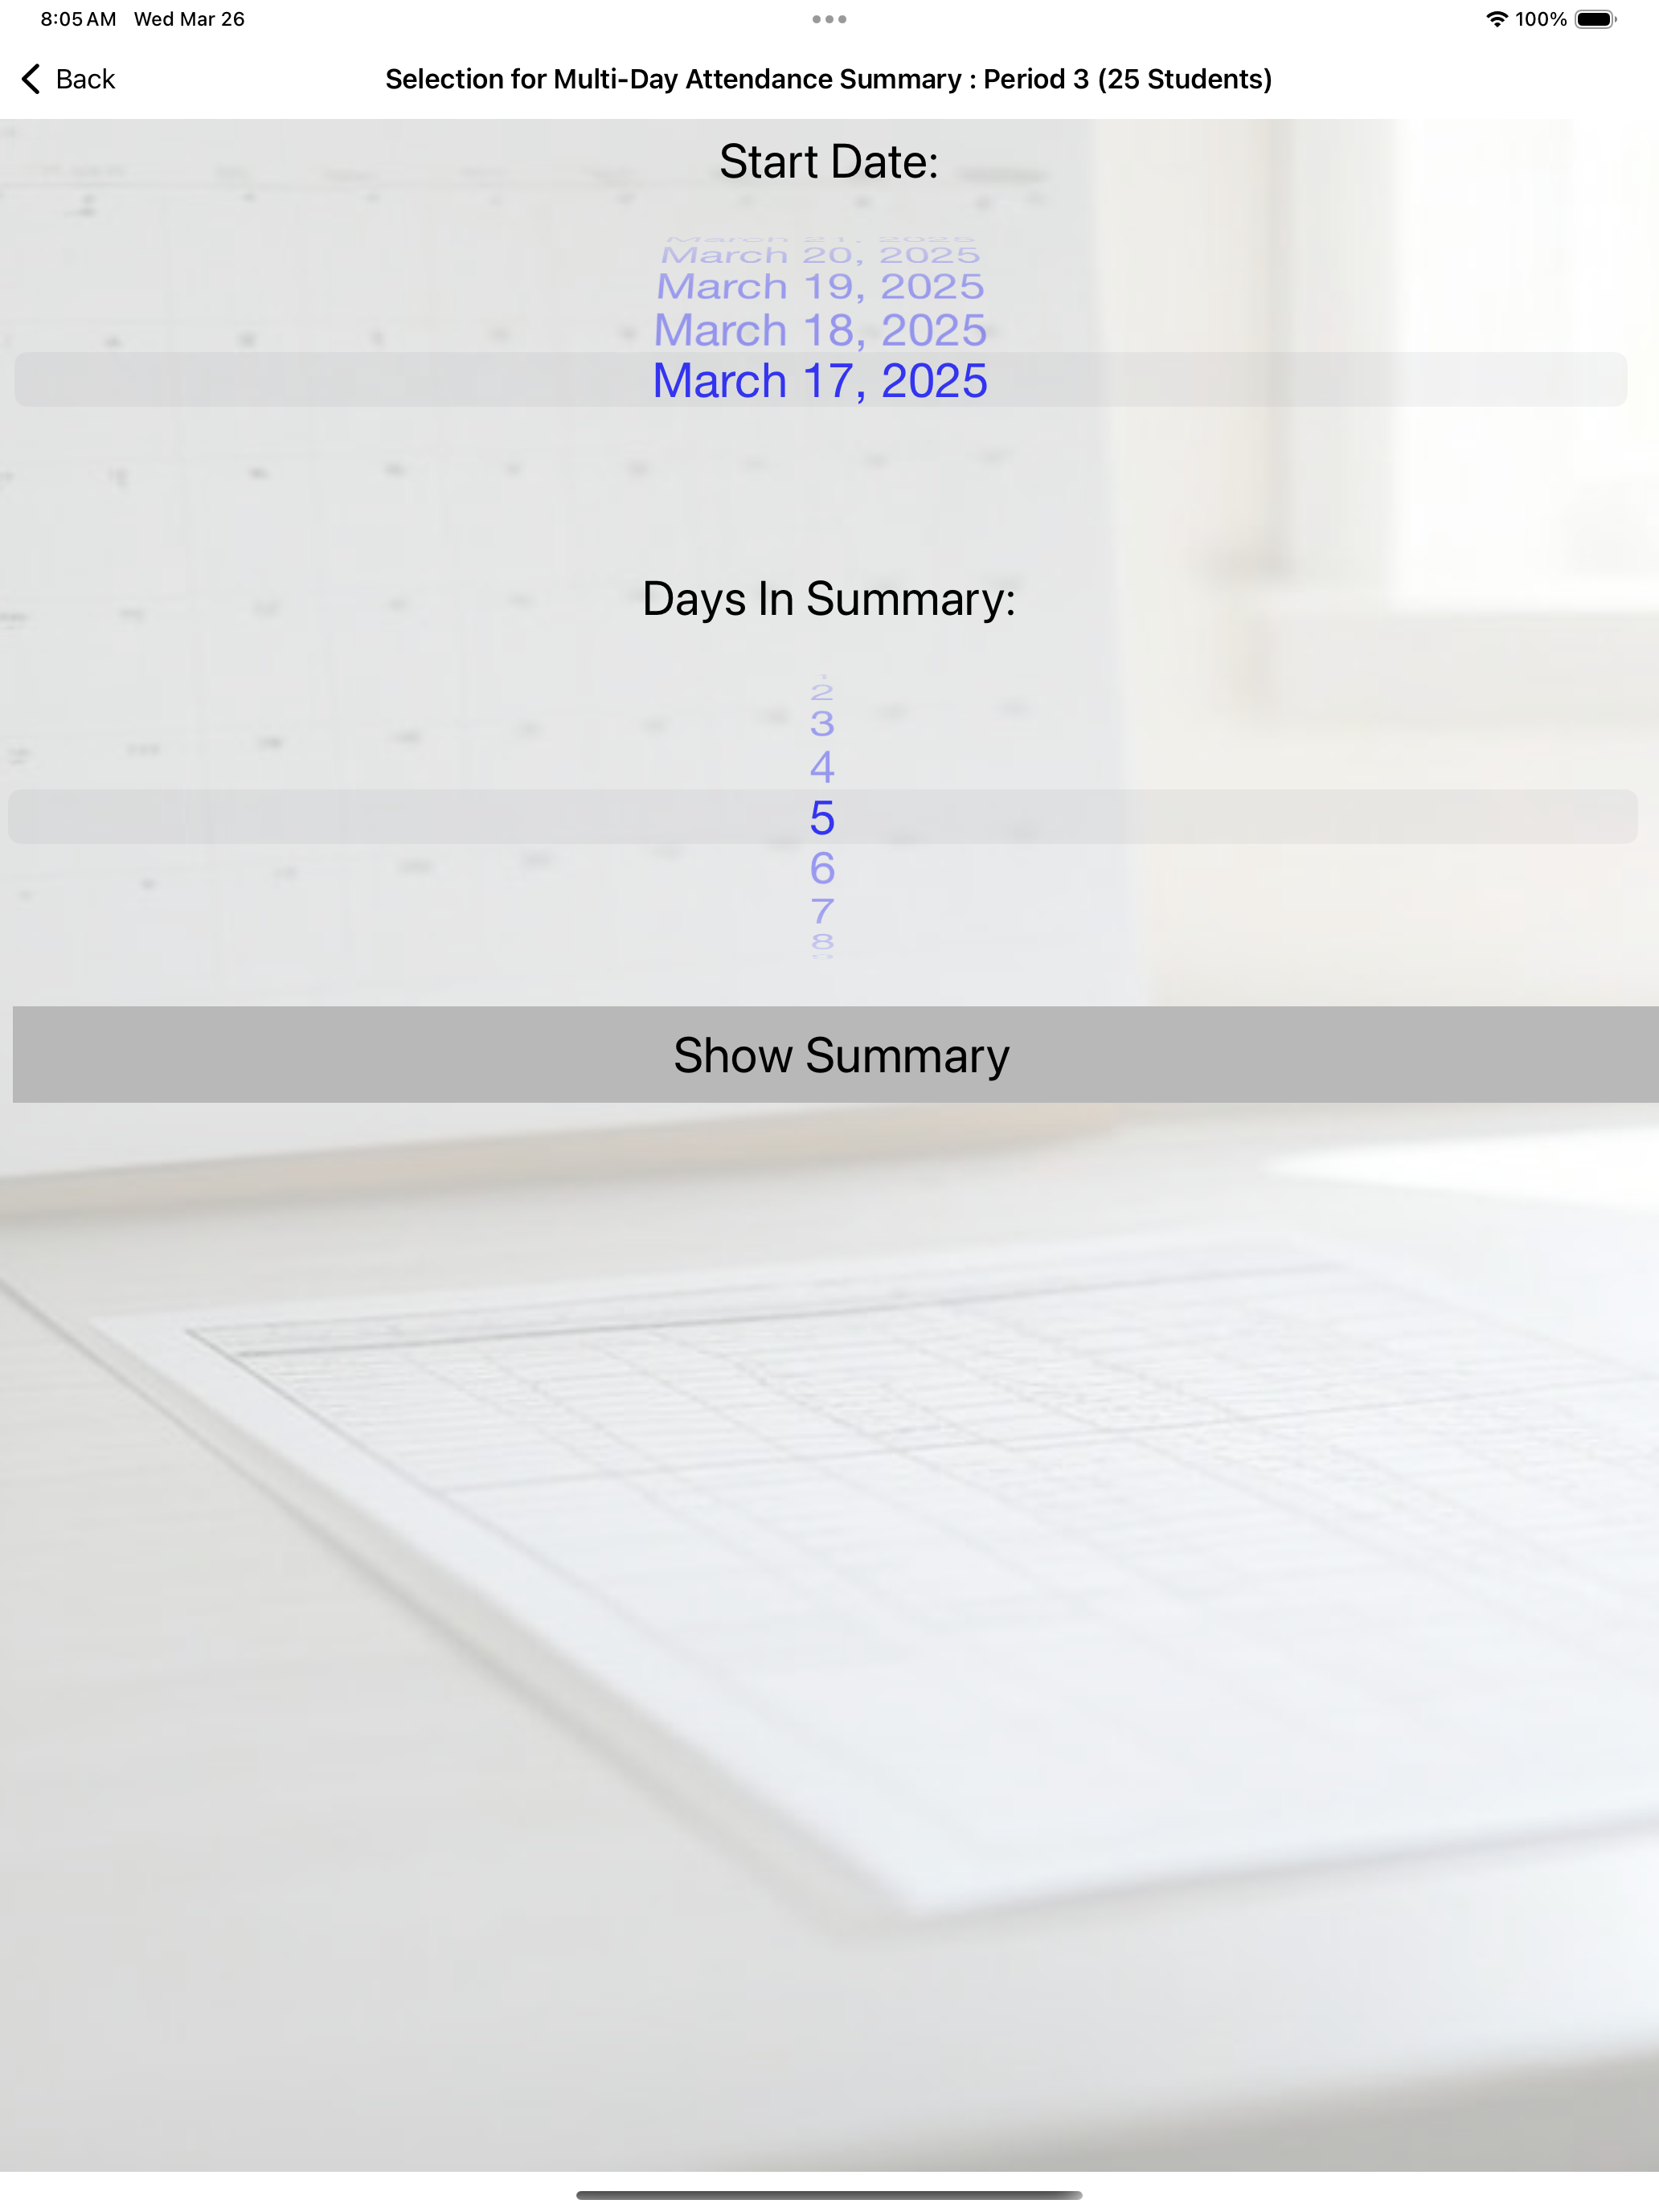
The multiday summary prompts you to select a start date for the summary, as well as the number of days in the summary, and then it shows the summary in table form:
"Pick a Student at Random" will display the name of one student chosen semi-randomly, excluding absent students and those already picked more than others. The progress bar below the name shows the current selection round.

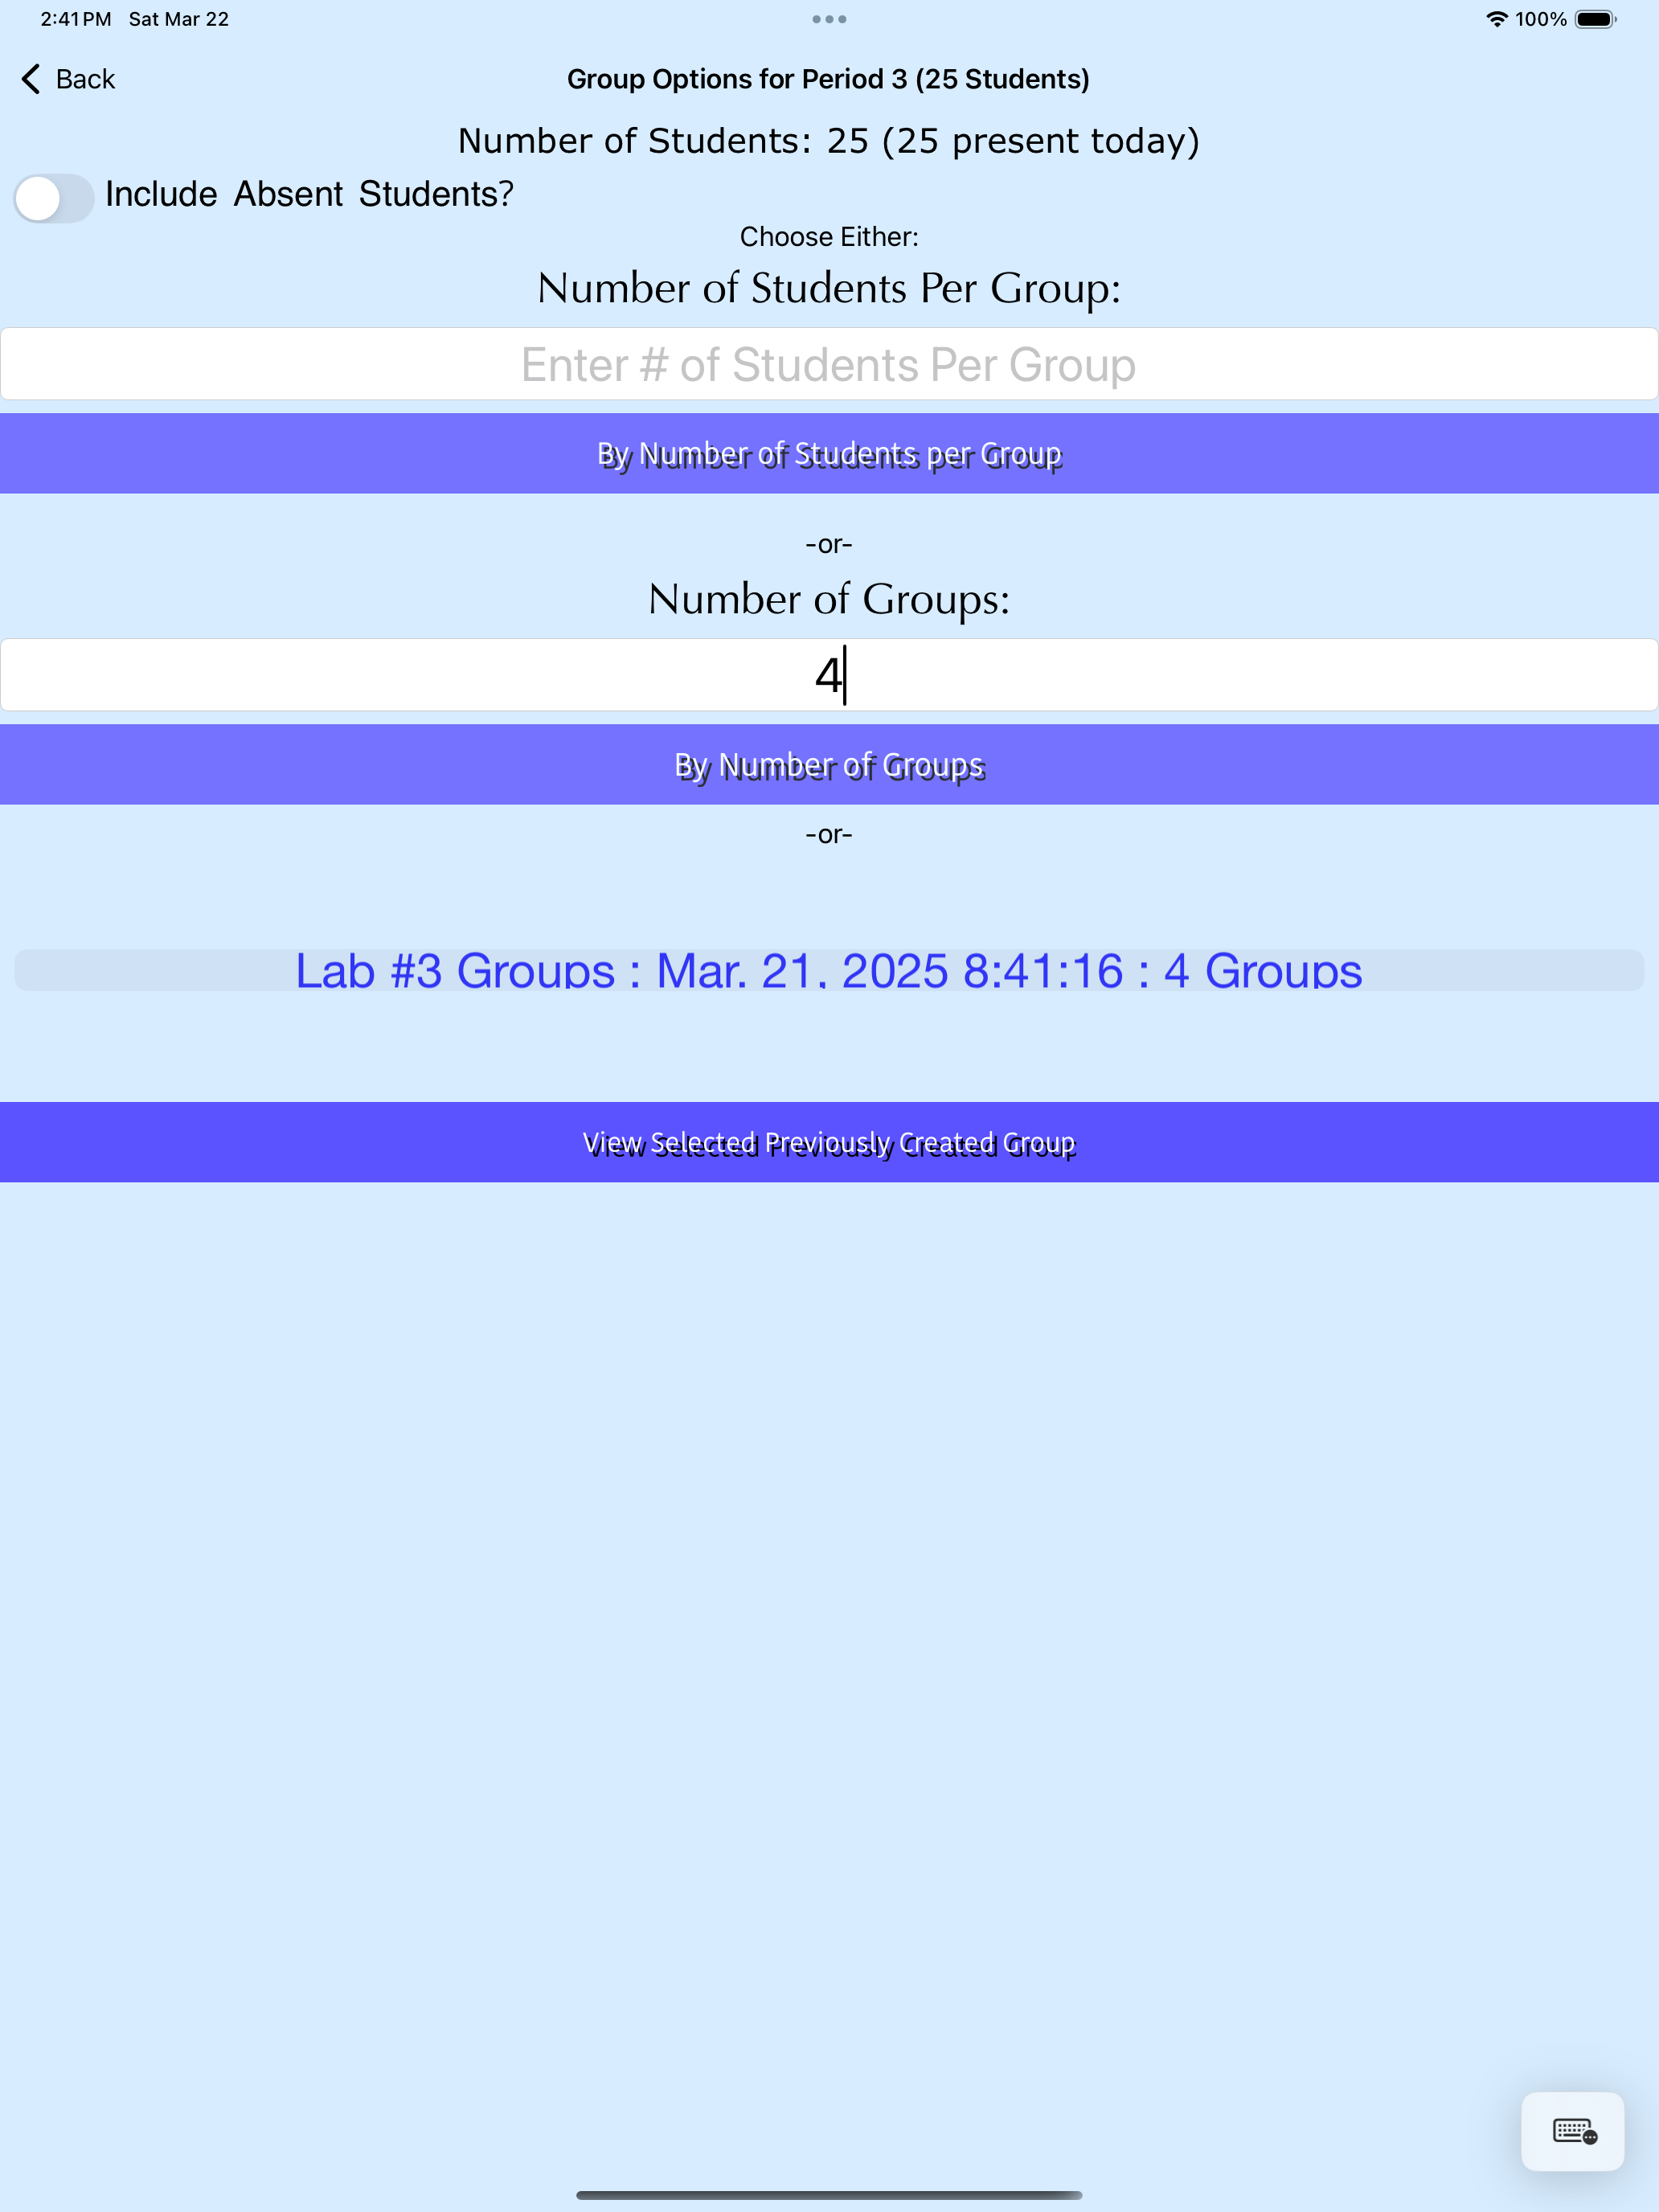
"Group Students at Random" allows you to include absent students and choose between setting the number of students per group or the number of groups. It generates, prints, or copies groups for use in other apps and saves them for future reference. You can also edit groups by dragging and dropping student names.

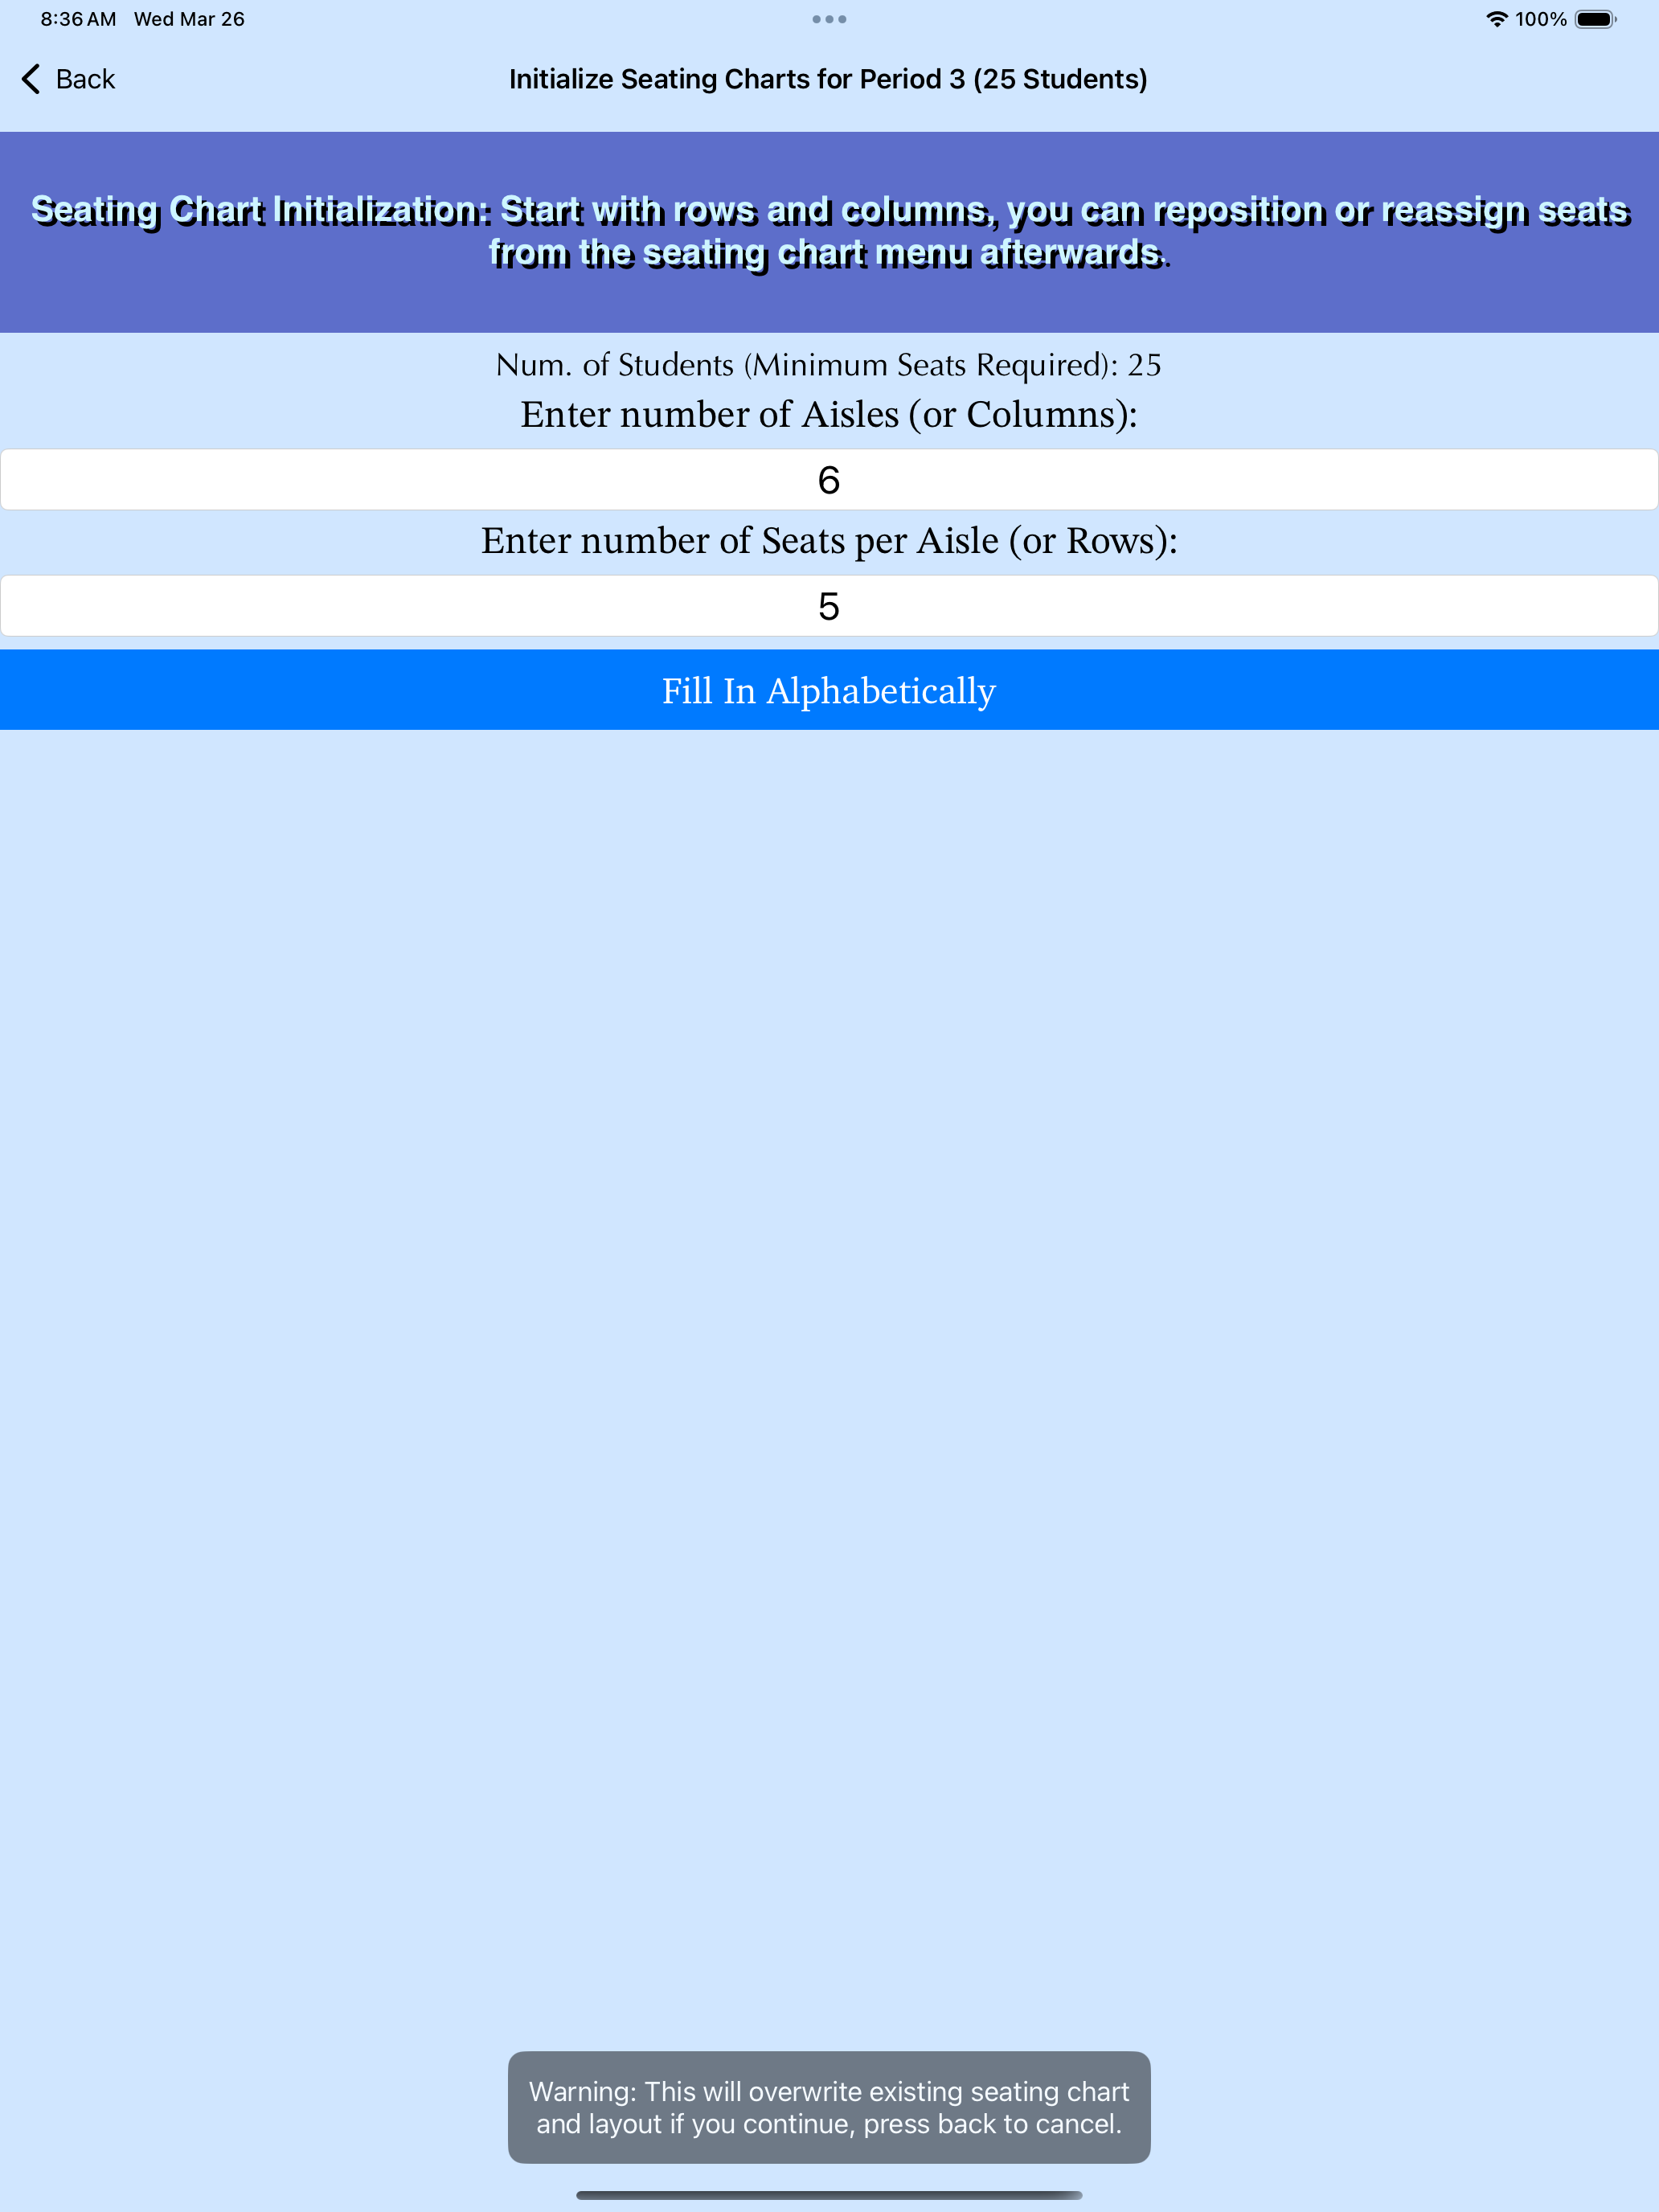
You set up the seating chart from the Manage Seating Chart Menu, which looks like the below -- and the first time you initialize/re-initalize a seating chart you start by giving a number of rows/columns to get starting seats, then can edit the layout from the layout menu option (or reassign seats by dragging and dropping, or even randomly assigning seats):
